CVM is a scalable cloud computing service that frees you from estimation of resource usage and upfront investment. You can start CVM instances and deploy applications immediately.
This document describes how to purchase and configure a Windows CVM instance from scratch in the simplest way. For more information on how to create a Linux CVM instance, see Quickly Configuring Linux CVM Instance.
Prerequisites
You have registered a Tencent Cloud account as instructed in Account Registration.
Configuring a Windows CVM Instance
Note:
To ensure successful connection to TDSQL-C for MySQL, the purchased CVM and TDSQL-C for MySQL instances must be:
2. On the purchase page, select the Quick Configuration tab, configure the CVM instance, and click Buy Now.
The configuration is as described below:
Configuration Item
Description
Region
Select the same region as your TDSQL-C for MySQL cluster.
Instance
Select the CVM model configuration as needed, which is "General (2-core, 4 GB)" here for example.
Operating System
Select the CVM operating system as needed, which is "Windows Server 2012 R2 Datacenter Edition 64-bit" here for example.
Public IP
After this option is selected, a public IP will be assigned to your instance. The default public network bandwidth is "1 Mbps", which can be adjusted as needed.
Login Methods
After creating a CVM instance, you can obtain the random password in the Message Center.
Default configuration
Six default configuration items can be expanded, such as AZ and security group.
Auto-renewal
After this option is selected, if your account balance is sufficient, the CVM instance will be automatically renewed by month upon expiration.
Agreements
Read and indicate your consent to the relevant agreements.
Period
Select the purchase period, which is "1 month" by default.
Quantity
Select the quantity, which is "1" by default.
After you make the payment, the CVM instance will be successfully purchased. It can be used as a personal virtual machine or website server. Next, you can log in to it.
Step 2. Log in to the CVM instance
Note:
After you purchase a quickly configured CVM instance, the system will automatically generate a login password and sent it to you in the Message Center. This password is the credential for logging in to the CVM instance.
2. On the instance management page, proceed according to the actually used view mode:
List view
Tab view
Locate the Windows CVM instance you want to log in to and click Log In on the right as shown below:
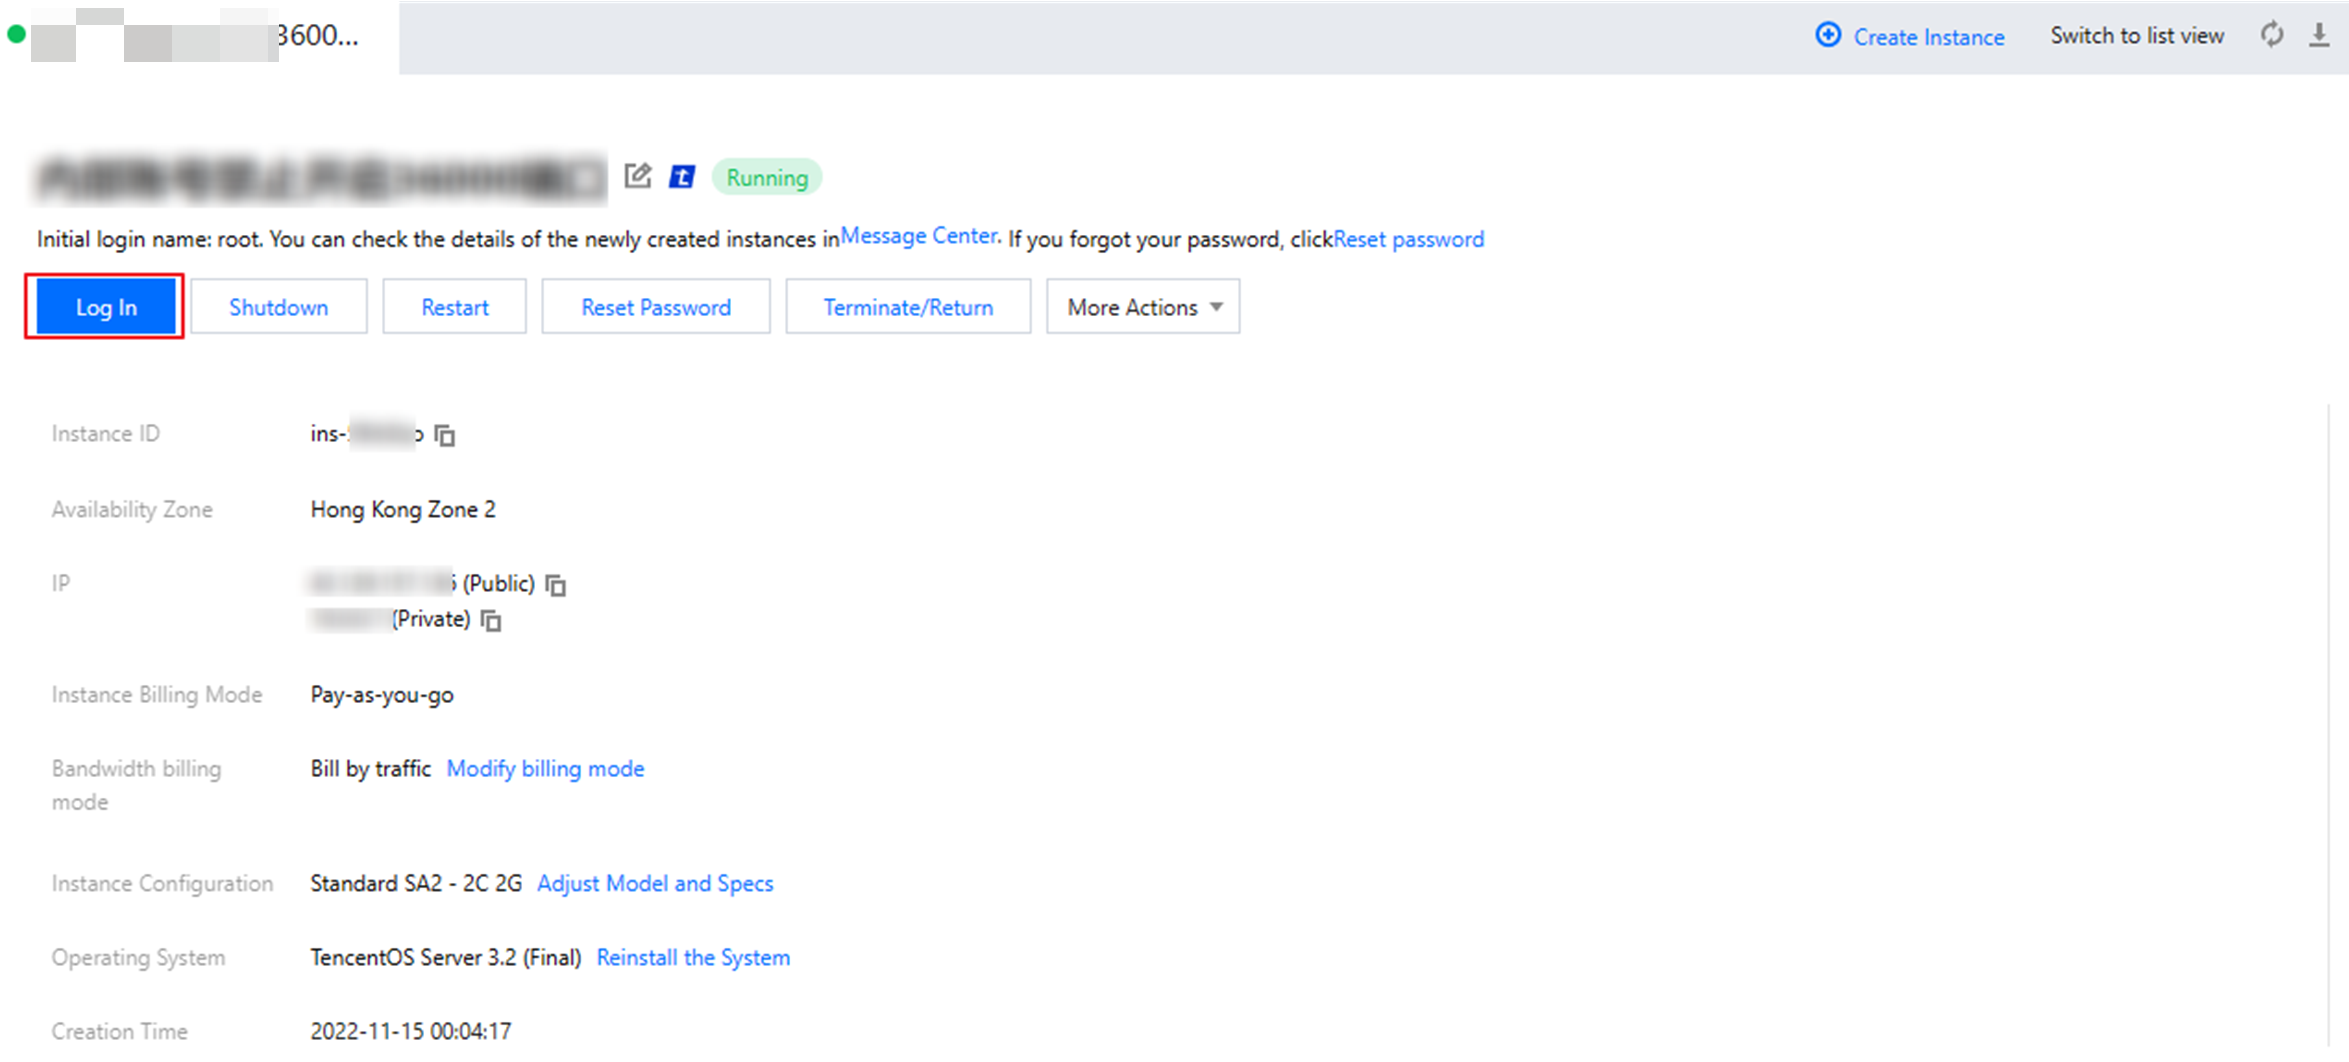
Locate the Windows CVM instance you want to log in to and click Log In as shown below:
3. In the Standard Login | Windows Instance window that is opened, enter the login information according to the actual situation.
Port: The default port is 3389. Enter a value as needed.
Username: The default username of Windows instances is Administrator. Enter a value as needed.
Password: Enter the login password obtained in the Message Center.
4. Click Log In to log in to the Windows instance.
This document uses logging in to a CVM instance on Windows Server 2016 Datacenter Edition 64-bit as an example. If the login is successful, a page similar to the following will appear: