- Release Notes and Announcements
- Release Notes
- TRTC Live (TUILiveKit) Product Launch Announcement
- TRTC Conference Official Editions Launched
- The commercial version of Conference is coming soon
- Terms and Conditions Applicable to $9.9 Starter Package
- Rules for the "First Subscription $100 Discount" Promotion
- Announcement on the Start of Beta Testing for Multi-person Audio and Video Conference
- TRTC Call Official Editions Launched
- License Required for Video Playback in New Version of LiteAV SDK
- TRTC to Offer Monthly Packages
- Product Introduction
- Purchase Guide
- Billing Overview
- RTC-Engine Packages
- TRTC Call Monthly Packages
- TRTC Conference Monthly Packages
- TRTC Live Monthly Packages
- Pay-As-You-Go
- Billing Explanation for Subscription Package Duration
- Billing of On-Cloud Recording
- Billing of MixTranscoding and Relay to CDN
- Free Minutes
- FAQs
- Billing of Monitoring Dashboard
- Billing of Recording Delivery
- Overdue and Suspension Policy
- Refund Policies
- User Tutorial
- Free Demo
- Video Calling (Including UI)
- Overview (TUICallKit)
- Activate the Service(TUICallKit)
- Integration (TUICallKit)
- UI Customization (TUICallKit)
- Offline Call Push (TUICallKit)
- On-Cloud Recording (TUICallKit)
- Additional Features(TUICallKit)
- Server APIs (TUICallKit)
- Client APIs (TUICallKit)
- ErrorCode
- Release Notes (TUICallKit)
- FAQs(TUICallKit)
- Multi-Participant Conference (with UI)
- Overview (TUIRoomKit)
- Activate the Service (TUIRoomKit)
- Integration (TUIRoomKit)
- UI Customization (TUIRoomKit)
- Conference Control (TUIRoomKit)
- Cloud Recording (TUIRoomKit)
- API Documentation(TUIRoomKit)
- In-Conference Chat (TUIRoomKit)
- FAQs (TUIRoomKit)
- Error Code (TUIRoomKit)
- Live Streaming (Including UI)
- Voice Chat Room (with UI)
- Integration (No UI)
- SDK Download
- API Examples
- Integration Guide
- Client APIs
- Advanced Features
- Relay to CDN
- Enabling Advanced Permission Control
- RTMP Streaming with TRTC
- Utilizing Beautification Effects
- Testing Hardware Devices
- Testing Network Quality
- On-Cloud Recording
- Custom Capturing and Rendering
- Custom Audio Capturing and Playback
- Sending and Receiving Messages
- Event Callbacks
- Access Management
- How to push stream to TRTC room with OBS WHIP
- Server APIs
- Console Guide
- Solution
- FAQs
- Legacy Documentation
- Protocols and Policies
- TRTC Policy
- Glossary
PC
Last updated: 2018-09-28 17:07:47
The documentation is not available now.
This document describes how to create a room in the client, and enable the camera and microphone to see your own video images.
Downloading Source Code
You can download the complete demo code used in this document.
Download Demo Code
Concepts
- Room
- privateMapKey
- Role configuration
- Video rendering
The captured video data must be rendered. This process is called video rendering.
Setting a callback for video data.
To obtain video data, you must set callback functions for local and remote video data before creating/entering the room.
//Callback for local video data
void OnLocalVideo(const LiveVideoFrame* video_frame, void* data)
{
}

//Callback for remote video data
void OnRemoteVideo(const LiveVideoFrame* video_frame, void* data)
{
}

GetILive()->setLocalVideoCallBack(OnLocalVideo, NULL);
GetILive()->setRemoteVideoCallBack(OnRemoteVideo, NULL);
Creating a Room
To create a room, you need to enter the iLiveRoomOption structure to describe the information of the created room. The sample code is as follows:
//Notification of status changes of members in the room (such as enabling/disabling cameras)
void  OnMemStatusChange(E_EndpointEventId eventId, const Vector<String> &ids, void* data)
{
}

iLiveRoomOption roomOption;
roomOption.privateMapKey = privateMapKey;    // Configure a room ticket
roomOption.roomId = RoomId;                 //ID of the room to be created
roomOption.authBits = AUTH_BITS_DEFAULT;    //With all permissions
roomOption.controlRole = "LiveMaster";      //Use the "LiveMaster" role configured on Spear
roomOption.memberStatusListener = OnMemStatusChange;//Callback indicating status change of members in the room
roomOption.data = NULL;//void* data pointer returned intact in callback;

GetILive()->createRoom(roomOption, [](void* data) {
    //Room created successfully
}, [](const int code, const char *desc, void* data) {
    //Failed to create a room
}, NULL);
Enabling Camera and Microphone
After you create a room, you don't need to call an API to enter the room. The camera and microphone can be enabled to perform audio/video data upstream.
//Enable the camera
Vector< Pair<String/*id*/, String/*name*/> > cameraList;
GetILive()->getCameraList(cameraList);//Obtain a list of available cameras
if (cameraList.size() > 0 )
{
    GetILive()->openCamera(cameraList[0].first); //Enable the first camera (default camera)
}

//Enable the microphone
Vector< Pair<String/*id*/, String/*name*/> > micList;
GetILive()->getMicList(micList);//Obtain a list of available microphones
if (micList.size() > 0)
{
    GetILive()->openMic(micList[0].first); //Enable the first microphone (default microphone)
}
In this case, the OnLocalVideo callback function configured previously receives every frame of video data. The data size of each video frame can be printed in the callback to verify whether the video data is received.
void OnLocalVideo(const LiveVideoFrame* video_frame, void* data)
{
    printf("frame size: %d\n", video_frame->dataSize);
}
Video Rendering
To see the video image, the received video image from the local camera must be rendered. The iLiveSDK provides a rendering module (iLiveRootView) where a window handle is assigned and a View (user information of the image to be rendered) is added to the rendering module before transmitting each frame of video image to the rendering module for rendering. You can read Rendering Module Usage Documentation carefully and understand it with the demo source code in this example.
Interface Design
In this demo, a window is created for the follow-up courses, with the upper part displaying local video images and the lower part displaying remote video images, as shown below:
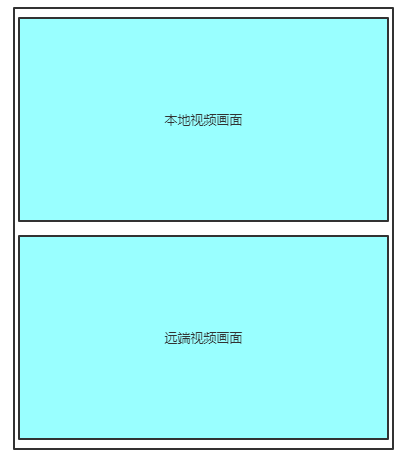
To reduce the complexity, this demo only demonstrates the audio/video communication between two people. In actual development, you can add multiple rendering views as needed.
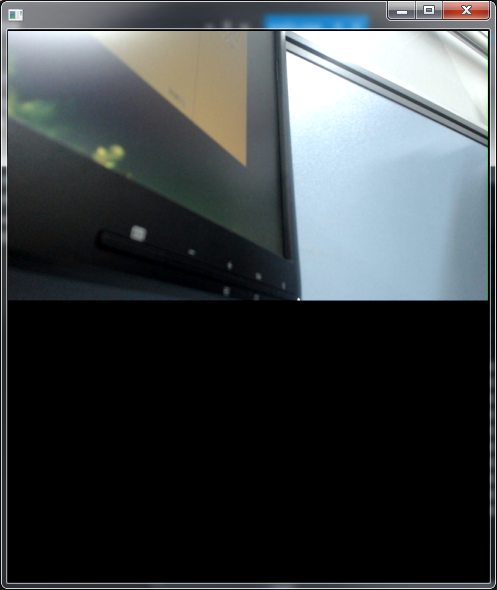
Execution Results
FAQ
Failed to enter a room, and was prompted for required permission
Make sure that the room ticket field (privateMapKey) is configured correctly.
The privateMapKey field is required for new users, and existing users (do not need room tickets) need to configure the field at initialization
GetILive()->setChannelMode(E_ChannelIMSDK);
Useless information is outputted on the console:
When some APIs of the SDK are called, useless information may be outputted on the console. For example, the output results after creating a room are shown as follows:
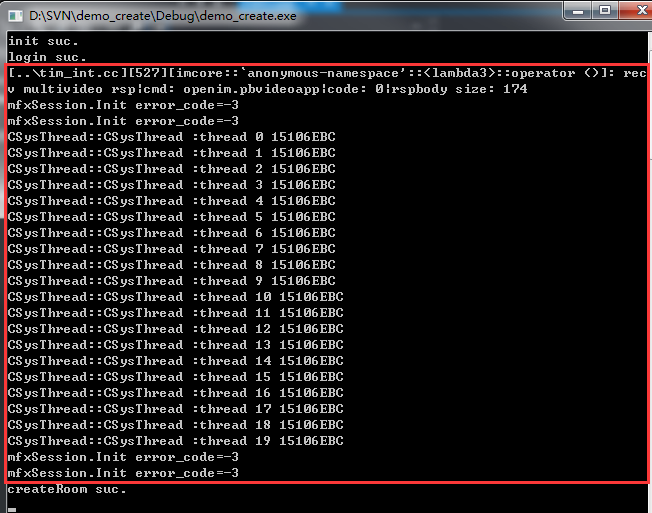
This is because iLiveSDK uses other SDK internally. It actually shows the printing output information of other SDKs, which will not affect the actual usage and can be ignored.
If you have any questions, send us an email to trtcfb@qq.com.

 Yes
Yes
 No
No
Was this page helpful?