This article will guide you through the process of quickly integrating the TUILiveKit component. By following this document, you will complete the following key steps within an hour and ultimately obtain a video or voice live streaming function with a complete UI interface.
Environment Preparations
Xcode 13 or later
iOS 13.0 or later
Step 1. Activate the service
Before using the Audio and Video Services provided by Tencent Cloud, you need to go to the Console and activate the service for your application. For detailed steps, refer to Activate the service
Step 2. Import the component
Use CocoaPods to import the component as follows:
1. Add the following dependency to your Podfile.
Swift
pod 'TUILiveKit'
2. Run the following command to install the component:
pod install
If the latest version of TUILiveKit cannot be installed, run the following command to update the local CocoaPods repository list:
pod repo update
Afterwards, execute the following command to update the Pod version of the component library.
pod update
Step 3. Configure the project
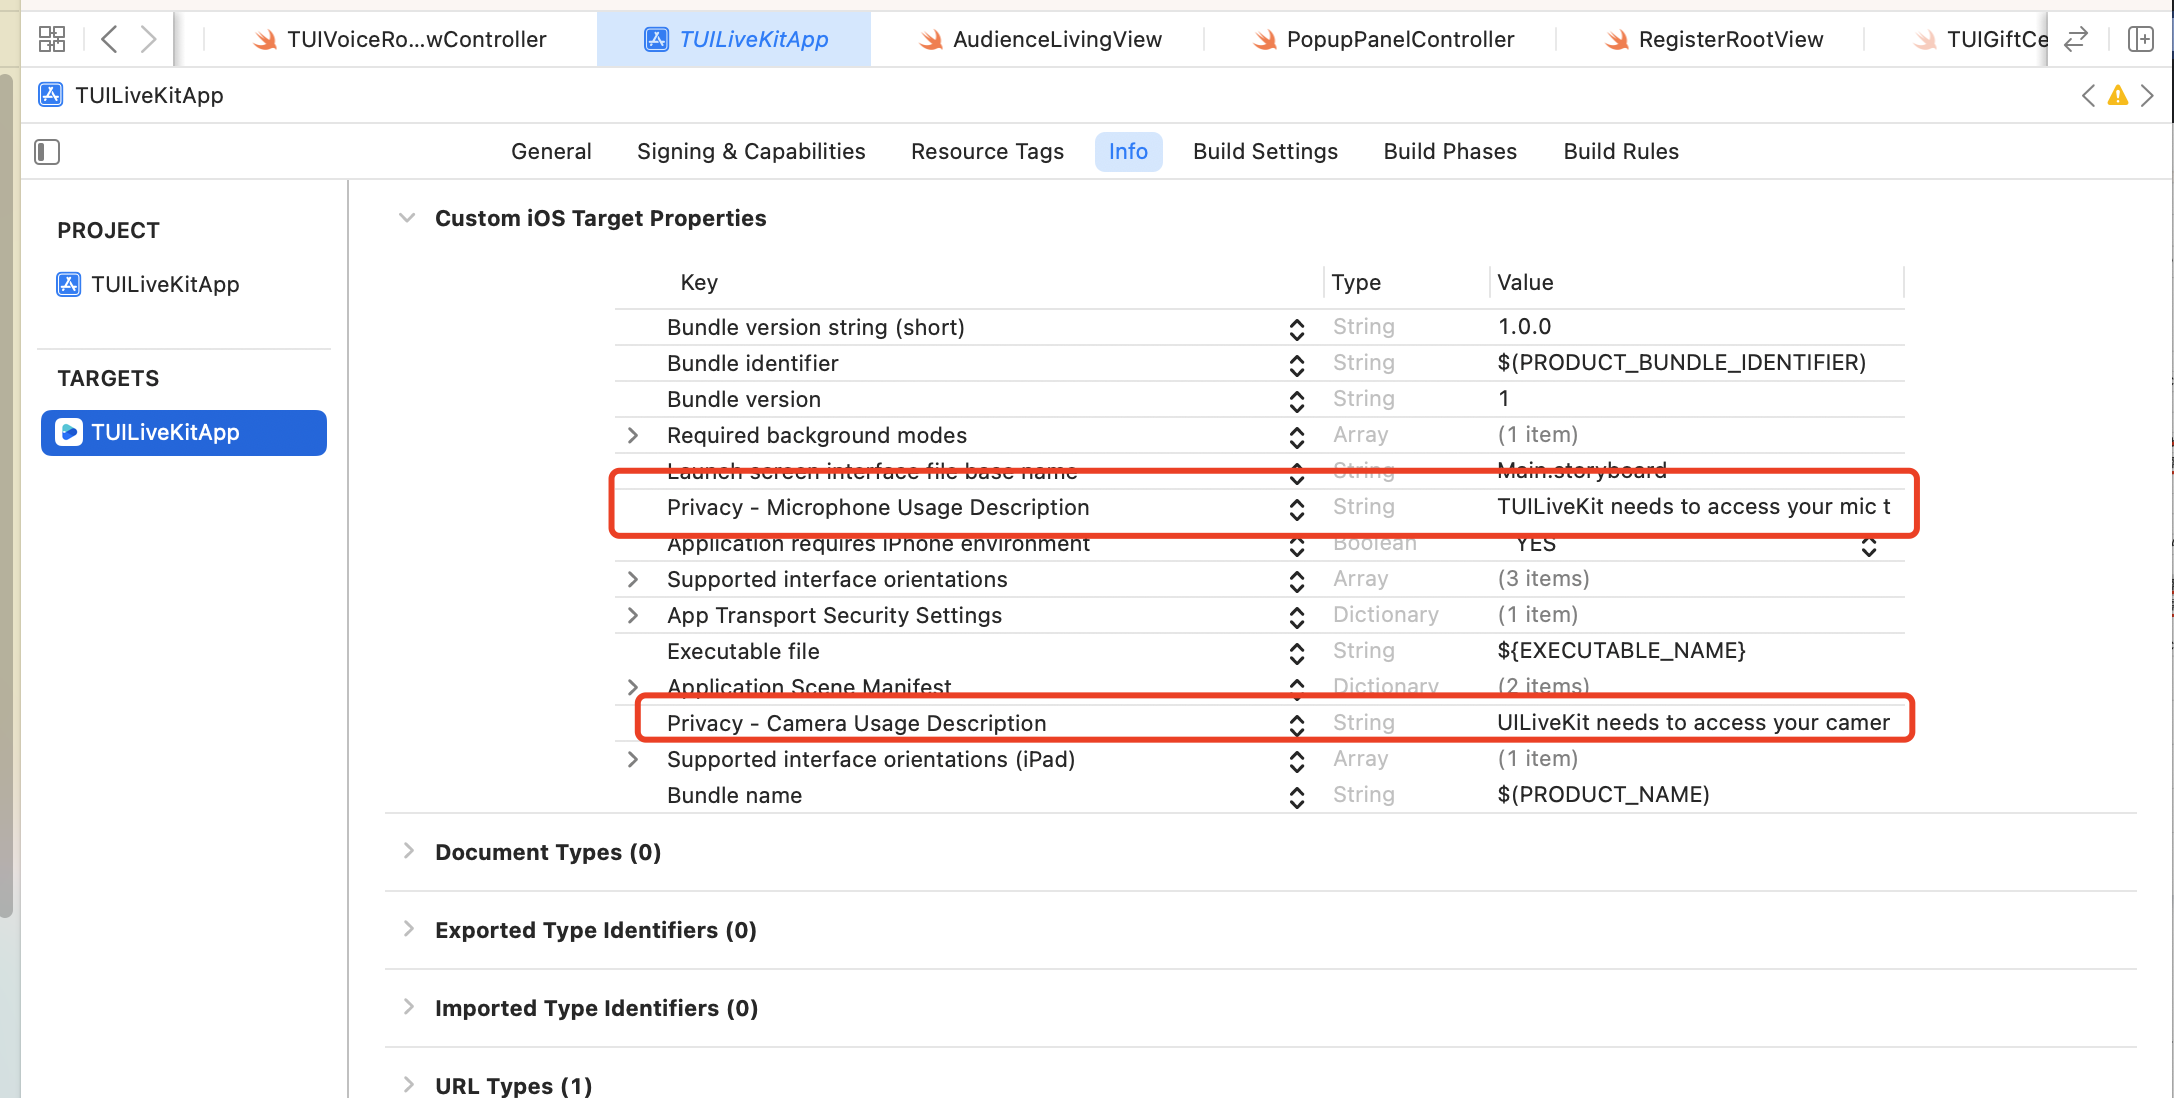
Your app needs mic and camera permissions to implement audio/video communication. Add the two items below to Info.plist of your app. Their content is what users see in the mic and camera access pop-up windows.
<key>NSCameraUsageDescription</key>
<string>TUILiveKit needs to access your camera to capture video.</string>
<key>NSMicrophoneUsageDescription</key>
<string>TUILiveKit needs to access your mic to capture audio.</string>
Step 4. Log in
Add the following code to your project, which completes the login of the TUI component by calling the relevant interface in TUICore. This step is very important, because you can use all functions of TUILiveKit only after the login is successful. Therefore, please patiently check whether the relevant parameters are correctly configured.
Swift
importTUICore
TUILogin.login(1400000001,// Replace it with the SDKAppID obtained in Step 1
userID:"denny",// Please replace it with your UserID
userSig:"xxxxxxxxxxx"){// You can calculate a UserSig in the console and fill it in
Parameter description: The key parameters used by the login function are as detailed below:
SDKAppID: Obtained in the last step in Step 1 and not detailed here.
UserID: The ID of the current user, which is a string that can contain only letters (a–z and A–Z), digits (0–9), hyphens (-), or underscores (_).
UserSig: The authentication credential used by Tencent Cloud to verify whether the current user is allowed to use the TRTC service. You can get it by using the SDKSecretKey to encrypt the information such as SDKAppID and UserID. You can generate a temporary UserSig by clicking the UserSig Generate button in the console.
Many developers have contacted us with many questions regarding this step. Below are some of the frequently encountered problems:
SDKAppID is invalid.
userSig is set to the value of Secretkey mistakenly. The userSig is generated by using the SecretKey for the purpose of encrypting information such as sdkAppId, userId, and the expiration time. But the value of the userSig that is required cannot be directly substituted with the value of the SecretKey.
userId is set to a simple string such as 1, 123, or 111, and your colleague may be using the same userId while working on a project simultaneously. In this case, login will fail as TRTC doesn't support login on multiple terminals with the same UserID. Therefore, we recommend you use some distinguishable userId values during debugging.
The sample code on GitHub uses the genTestUserSig function to calculate UserSig locally, so as to help you complete the current integration process more quickly. However, this scheme exposes your SecretKey in the application code, which makes it difficult for you to upgrade and protect your SecretKey subsequently. Therefore, we strongly recommend you run the UserSig calculation logic on the server and make the application request the UserSig calculated in real time every time the application uses the TUICallKit component from the server.
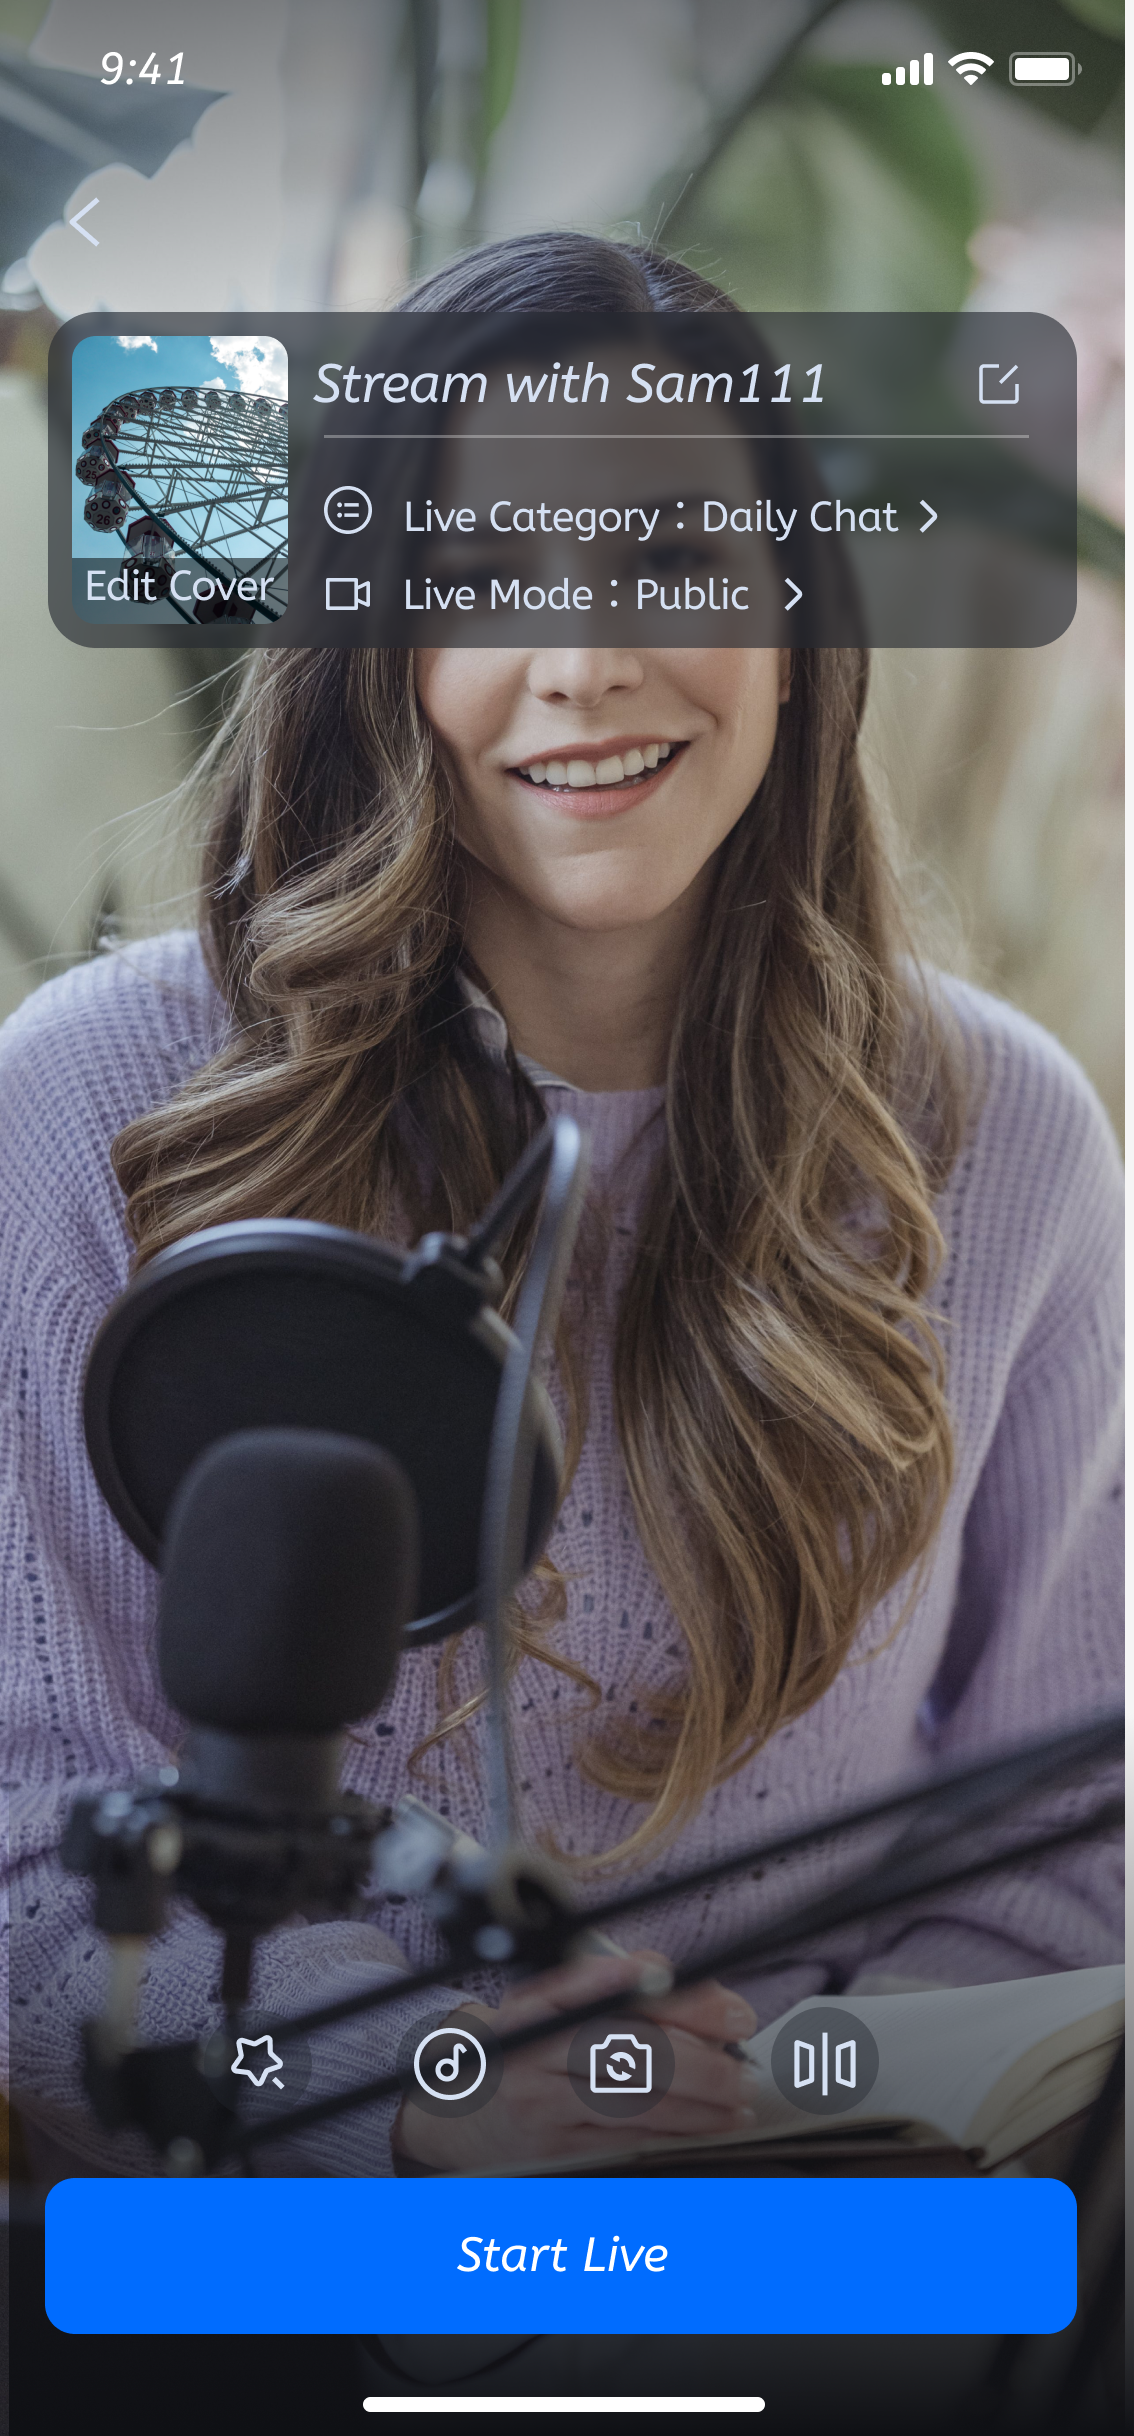
Step 5. Enter the live preview screen
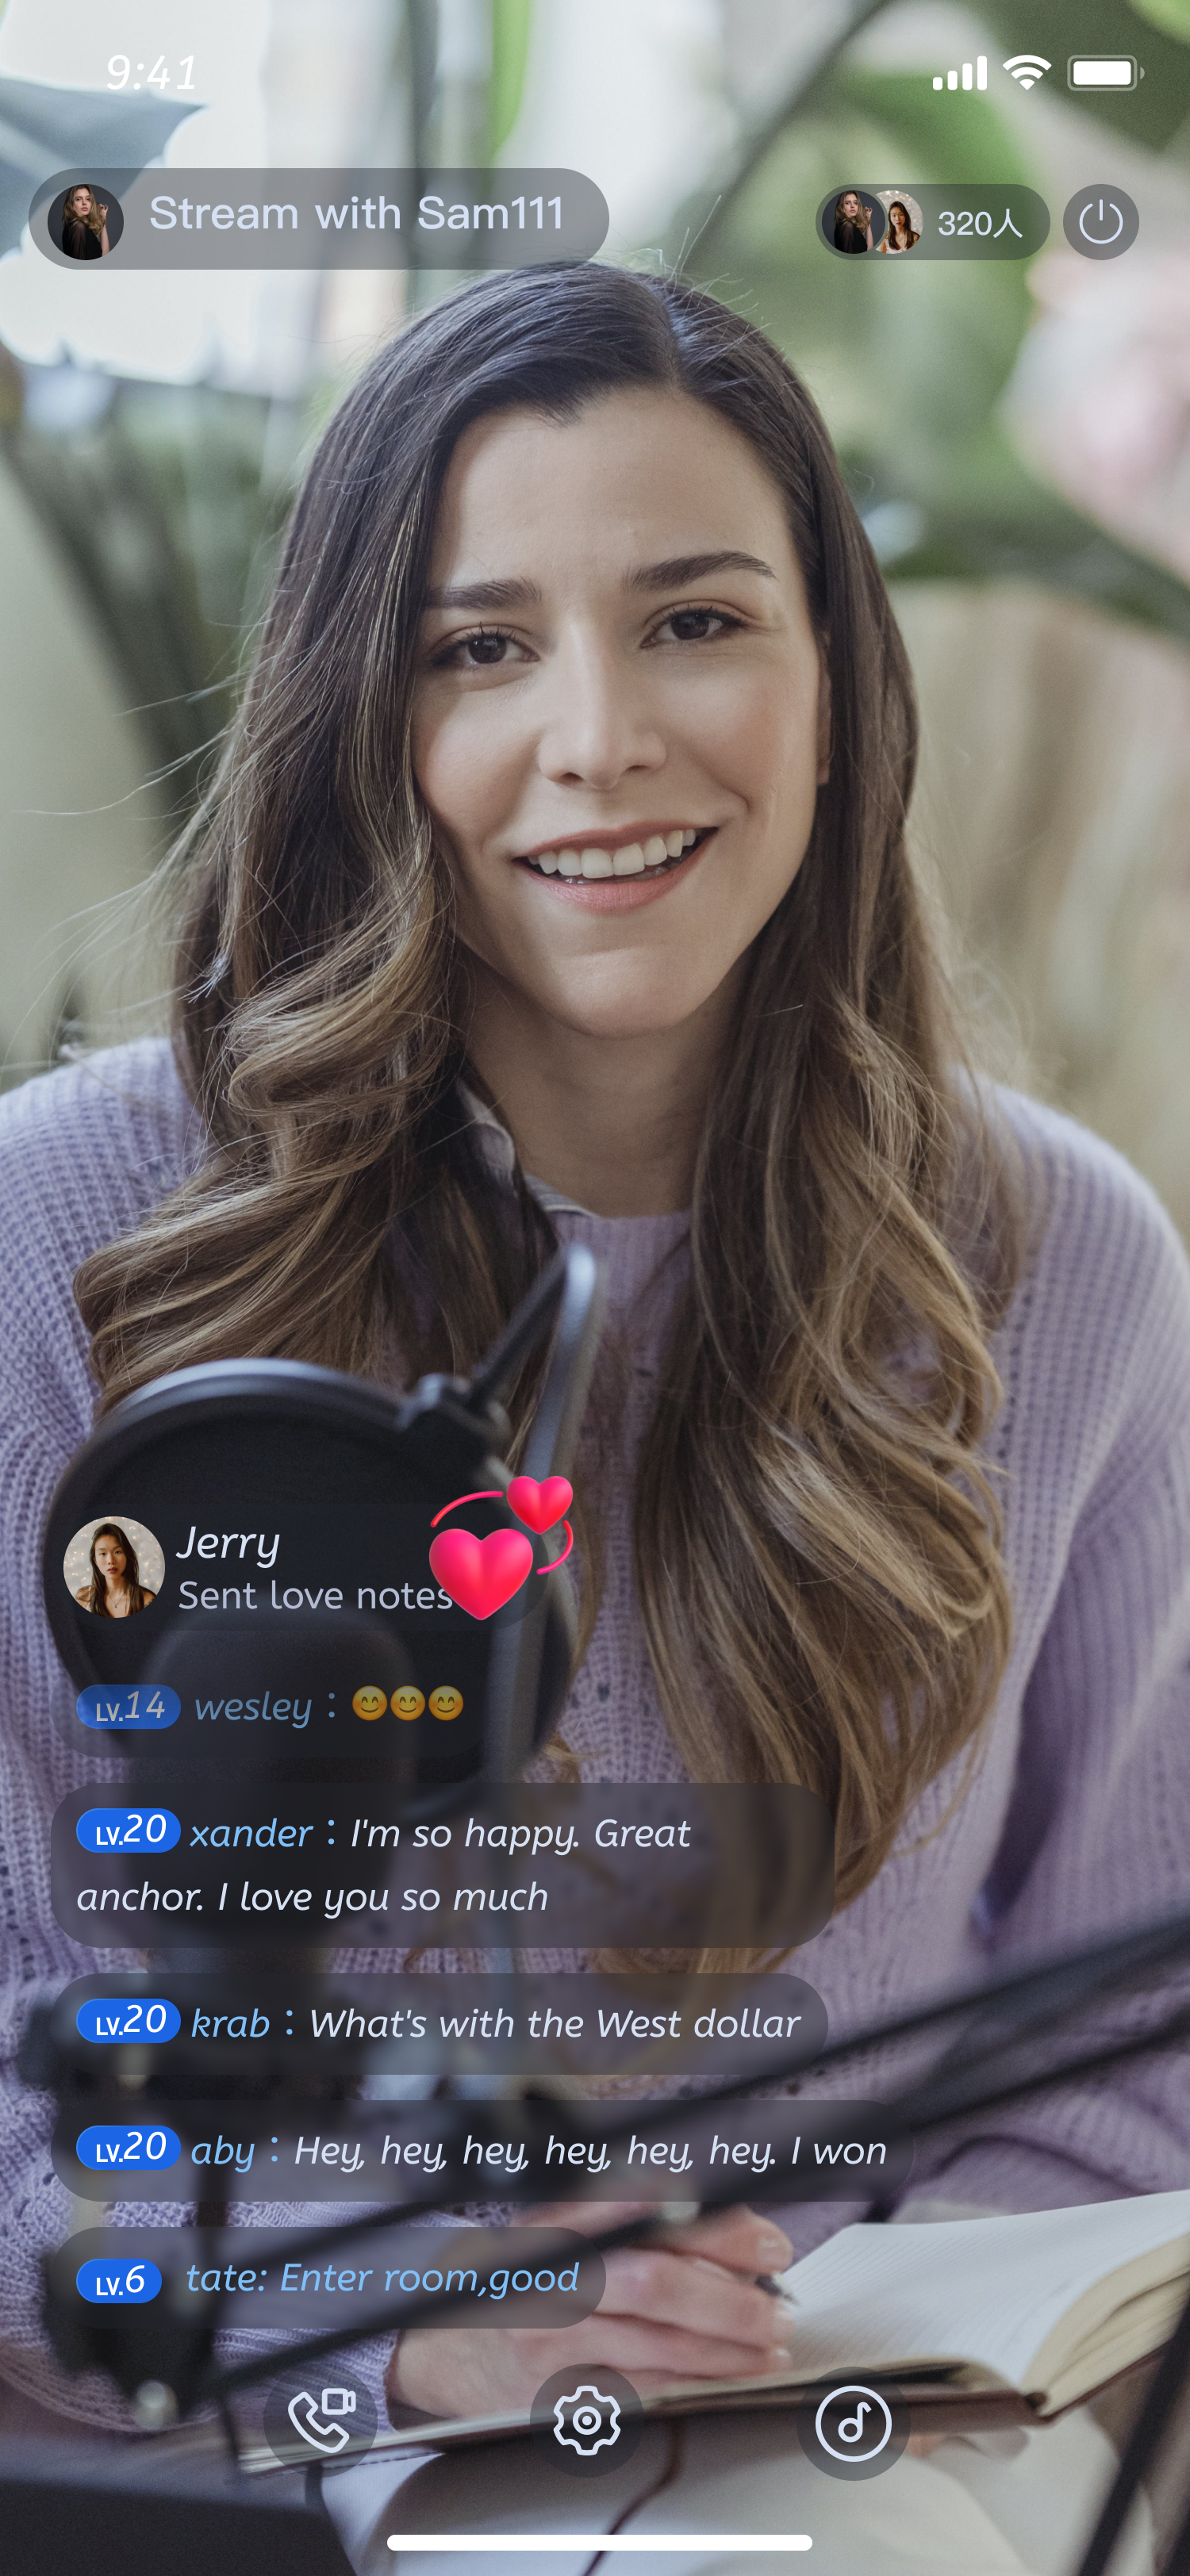
By loading TUILiveKit TUILiveRoomAnchorViewController page, you can pull up preview screen, click on "start live" can be launched online video broadcast.
Swift
importTUILiveKit
//RoomId can be customized
String roomId ="123666";
// Enter the live preview screen
let viewController =TUILiveRoomAnchorViewController(roomId: roomId)


 Yes
Yes
 No
No
Was this page helpful?