- Release Notes and Announcements
- Release Notes
- TRTC Live (TUILiveKit) Product Launch Announcement
- TRTC Conference Official Editions Launched
- The commercial version of Conference is coming soon
- Terms and Conditions Applicable to $9.9 Starter Package
- Rules for the "First Subscription $100 Discount" Promotion
- Announcement on the Start of Beta Testing for Multi-person Audio and Video Conference
- TRTC Call Official Editions Launched
- License Required for Video Playback in New Version of LiteAV SDK
- TRTC to Offer Monthly Packages
- Product Introduction
- Purchase Guide
- Billing Overview
- RTC-Engine Packages
- TRTC Call Monthly Packages
- TRTC Conference Monthly Packages
- TRTC Live Monthly Packages
- Pay-As-You-Go
- Billing Explanation for Subscription Package Duration
- Billing of On-Cloud Recording
- Billing of MixTranscoding and Relay to CDN
- Free Minutes
- FAQs
- Billing of Monitoring Dashboard
- Billing of Recording Delivery
- Overdue and Suspension Policy
- Refund Policies
- User Tutorial
- Free Demo
- Video Calling (Including UI)
- Overview (TUICallKit)
- Activate the Service(TUICallKit)
- Integration (TUICallKit)
- UI Customization (TUICallKit)
- Offline Call Push (TUICallKit)
- On-Cloud Recording (TUICallKit)
- Additional Features(TUICallKit)
- Server APIs (TUICallKit)
- Client APIs (TUICallKit)
- ErrorCode
- Release Notes (TUICallKit)
- FAQs(TUICallKit)
- Multi-Participant Conference (with UI)
- Overview (TUIRoomKit)
- Activate the Service (TUIRoomKit)
- Integration (TUIRoomKit)
- UI Customization (TUIRoomKit)
- Conference Control (TUIRoomKit)
- Cloud Recording (TUIRoomKit)
- API Documentation(TUIRoomKit)
- In-Conference Chat (TUIRoomKit)
- FAQs (TUIRoomKit)
- Error Code (TUIRoomKit)
- Live Streaming (Including UI)
- Voice Chat Room (with UI)
- Integration (No UI)
- SDK Download
- API Examples
- Integration Guide
- Client APIs
- Advanced Features
- Relay to CDN
- Enabling Advanced Permission Control
- RTMP Streaming with TRTC
- Utilizing Beautification Effects
- Testing Hardware Devices
- Testing Network Quality
- On-Cloud Recording
- Custom Capturing and Rendering
- Custom Audio Capturing and Playback
- Sending and Receiving Messages
- Event Callbacks
- Access Management
- How to push stream to TRTC room with OBS WHIP
- Server APIs
- Console Guide
- Solution
- FAQs
- Legacy Documentation
- Protocols and Policies
- TRTC Policy
- Glossary
This document elucidates the rapid integration of the TUICallKit component. Within a mere span of ten minutes, you will accomplish several pivotal steps, culminating in a comprehensive User Interface with video call functionality.
Video Call | Audio Call |
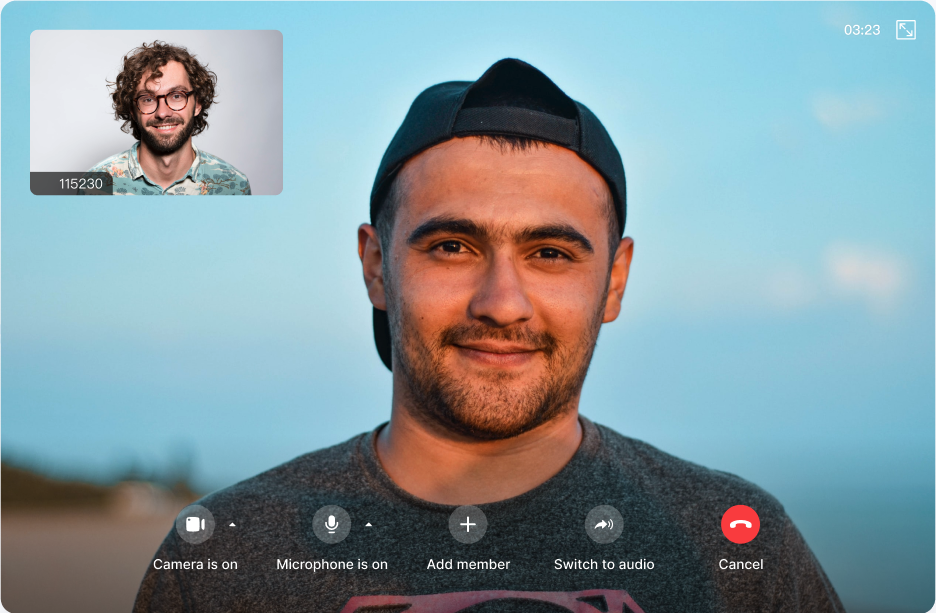 | 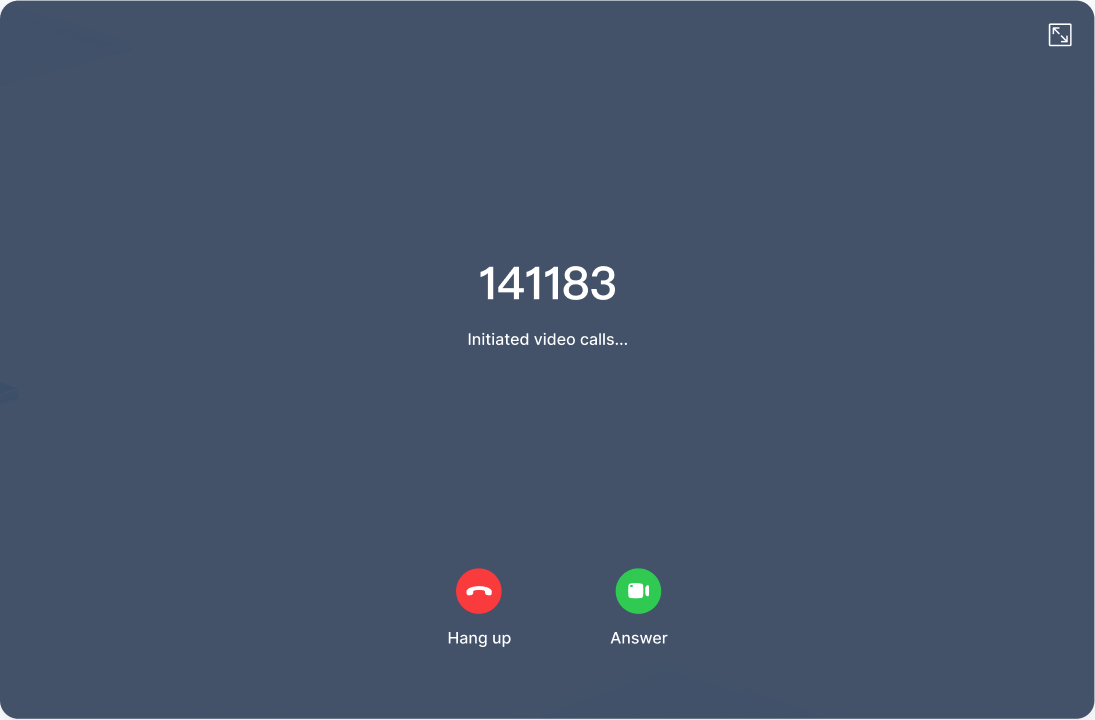 |
One-to-One Call | Group call |
 | 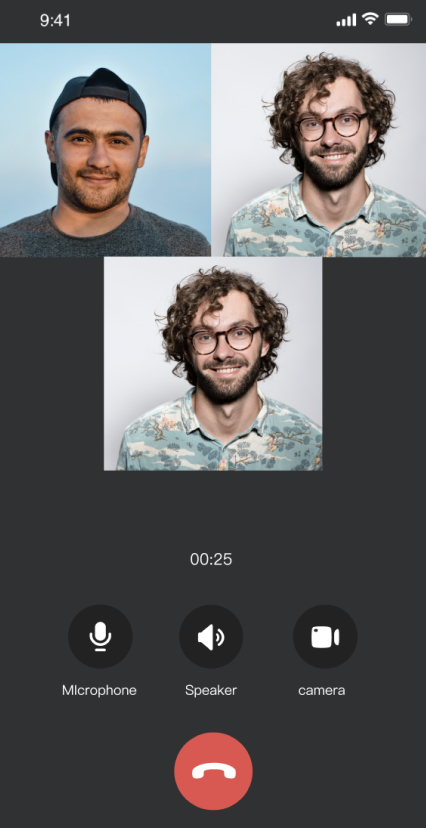 |
TUICallKit Demo Experience
If you want to directly try out audio and video calling,please enter the Demo experience page.
If you want to quickly implement a new project, directly read Web Demo Quick Start.
Environment preparations
Node.js Version: Node.js ≥ v12.13.0 (the official LTS version is recommended, please ensure that the npm version matches the node version).
Modern browser, supporting WebRTC APIs.
Step 1. Activate the service
Before using the Audio and Video Services provided by Tencent Cloud, you need to go to the Console and activate the service for your application. For detailed steps, refer to Activate Service.
Step Two: Create a Vue3 Project
1. If you haven't installed Vue CLI yet, you can install it in the terminal or cmd as follows:
npm install -g @vue/cli
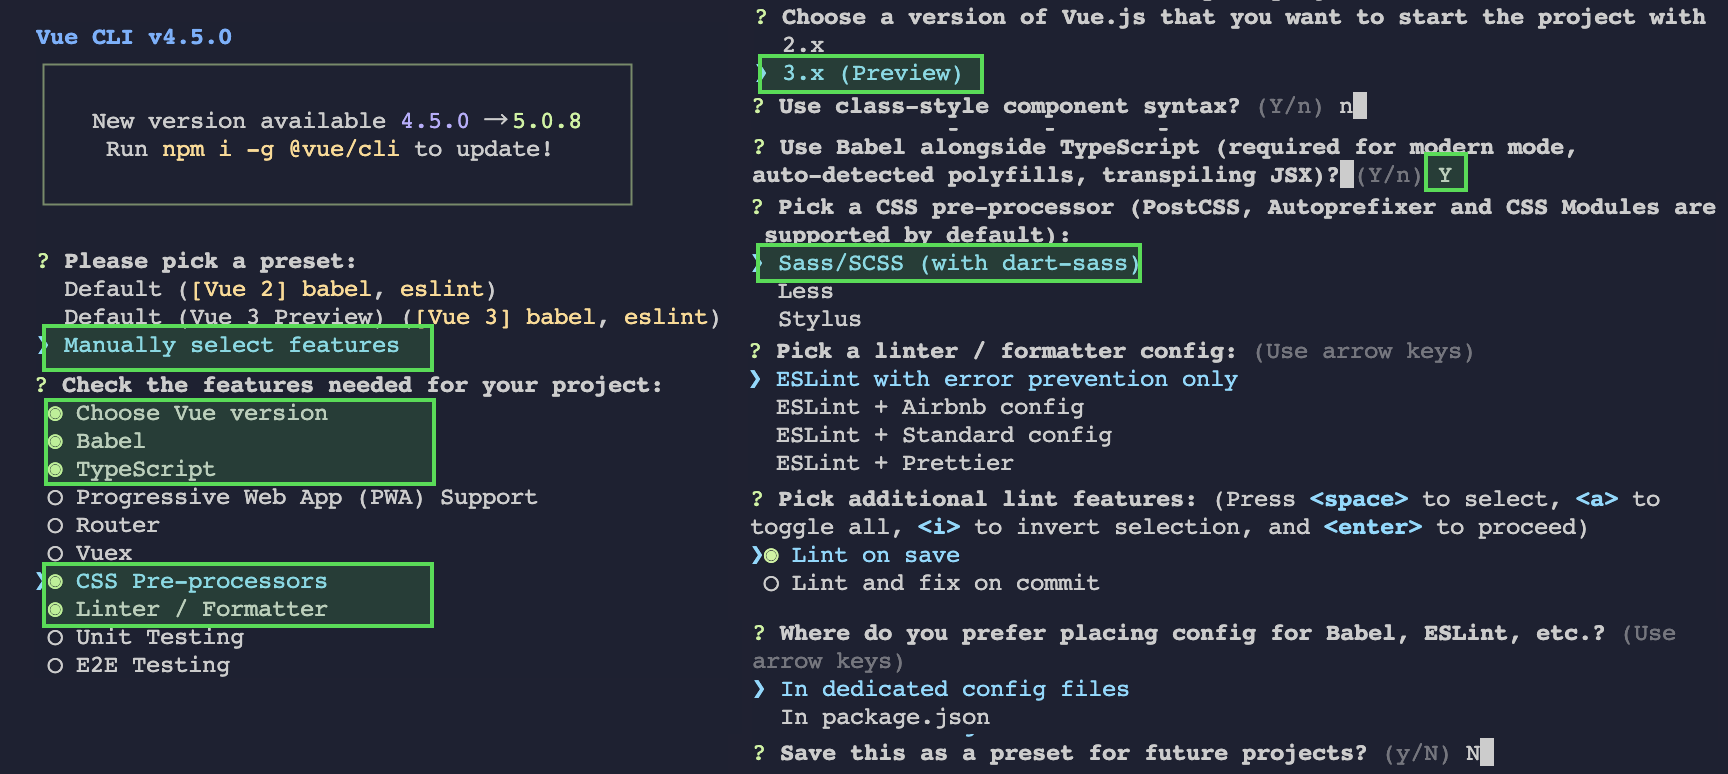
2. Create a project through Vue CLI and select the configuration items depicted below.
vue create tuicallkit-demo
3. After completing the project creation, switch to the project directory.
cd tuicallkit-demo
Step Three: Download the TUICallKit Component
1. Download the @tencentcloud/call-uikit-vue component via npm and use it in your project.
npm install @tencentcloud/call-uikit-vue
2. Copy the debug directory to your project.
cp -r node_modules/@tencentcloud/call-uikit-vue/debug ./src
xcopy node_modules\\@tencentcloud\\call-uikit-vue\\debug .\\src\\debug /i /e
Step Four: Include the TUICallKit Component
1. The following code example includes four parameters: SDKAppID, SDKSecretKey, userID, and callUserID.
SDKAppID: The Audio and Video Application's SDKAppID created in Tencent Cloud, refer to Activate the Service.
SDKSecretKey: User Signature, refer to Activate the Service.
userID: The caller's userID. It's a string type that can only include English letters (a to z and A to Z), numbers (0 to 9), hyphens (-), and underscores (_).
callUserID: The called party's userID which must already exist for initialisation. (Within the demo, input the callUserID if there is a callee, otherwise if there isn't a callee it can be left blank).
2. In
tuicallkit-demo/App.vue, include the following code.Note: The TUICallKit component needs to be placed inside a DOM node to display and control the position, width, height, and other styles of the TUICallKit.
<template><div style="padding: 20px 0 0 20px"><div><span>userID:</span><input type="text" v-model="userID" /></div><div style="margin-top: 6px;"><span>callUserID:</span><input type="text" v-model="callUserID" /></div><button @click="init()" style="margin: 10px 10px 10px 0; height: 28px;"> Step 1: Initialization </button><button @click="call()" style="margin: 10px 10px 10px 0; height: 28px;"> Step 2: Start 1v1 video call </button><div style="width: 50rem; height: 35rem; border: 1px solid salmon;"><TUICallKit /></div></div></template><script lang="ts" setup>import { ref } from 'vue';import { TUICallKit, TUICallKitServer, TUICallType } from "@tencentcloud/call-uikit-vue";import * as GenerateTestUserSig from "./debug/GenerateTestUserSig-es";const userID = ref('');const callUserID = ref('');const SDKAppID = 0; // Replace with your SDKAppIDconst SDKSecretKey = ''; // Replace with your SDKSecretKeyasync function init() {try {const { userSig } = GenerateTestUserSig.genTestUserSig({userID: userID.value,SDKAppID: SDKAppID,SecretKey: SDKSecretKey,});await TUICallKitServer.init({ //[1]Initialize the TUICallKit componentSDKAppID,userID: userID.value,userSig,});alert("[TUICallKit] Initialization success.");} catch (error: any) {alert(`[TUICallKit] Initialization failed. Reason: ${error}`);}}async function call() { //[2]Make a 1v1 video calltry {await TUICallKitServer.call({ userID: callUserID.value, type: TUICallType.VIDEO_CALL });} catch (error: any) {alert(`[TUICallKit] Call failed. Reason: ${error}`);}}</script>
Step Five: Make your first phone call
In the terminal, input
npm run serve to run tuicallkit-demo.Alert: Visit locally through localhost protocol, for details refer to Network access protocol description.
Press the
Step 1: Initialization button, the pop-up Initialization successful indicates the successful initialization.
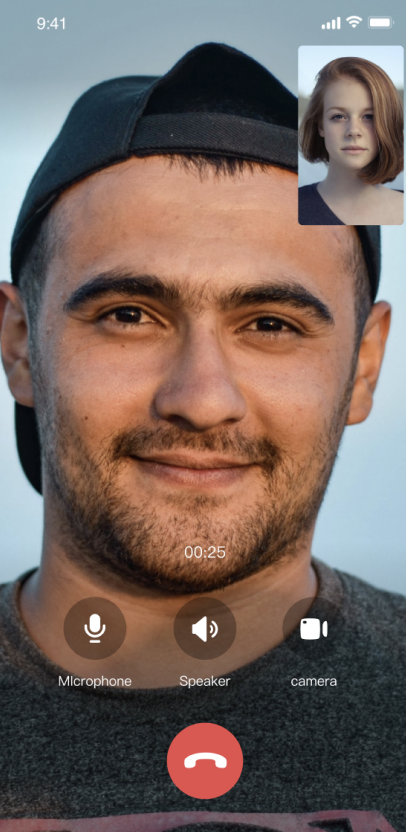
Click on
Step 2: Start 1v1 video call to initiate a 1v1 video call, the actual effect is demonstrated in the following image.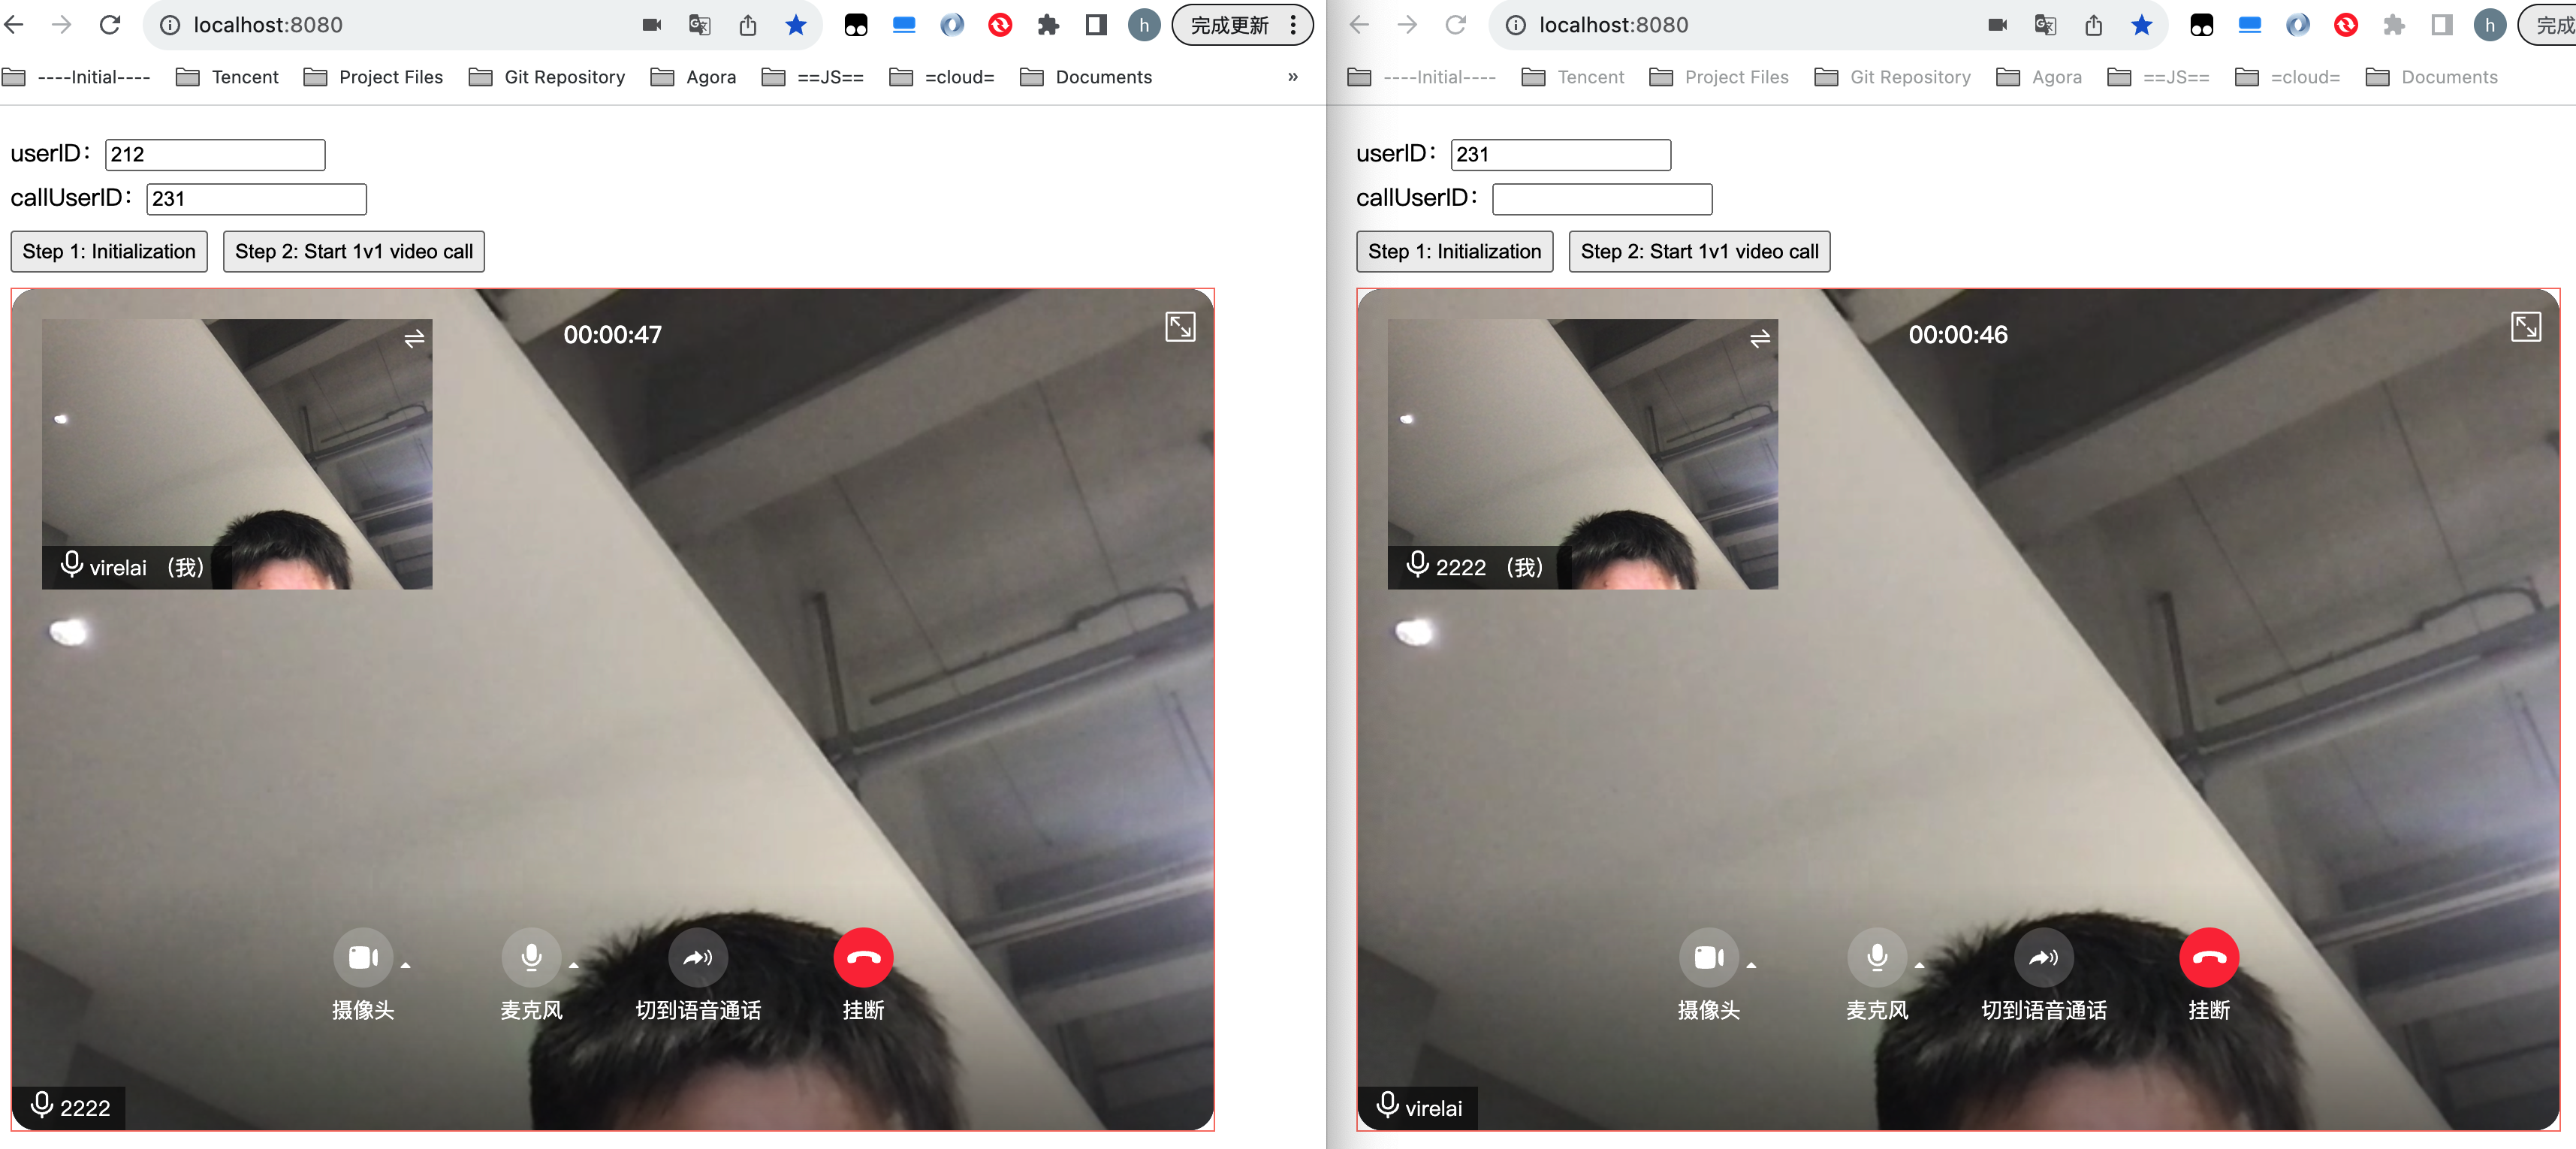
Additional Features
FAQs
Technical Consultation
If you have any requirements or feedback, you can contact: info_rtc@tencent.com.

 Yes
Yes
 No
No
Was this page helpful?