TUIKit Flutter includes built-in language packs for Simplified Chinese, Traditional Chinese, English, Japanese, Korean, and Arabic. These packs allow you to set the user interface language easily. With a simple configuration, you can enable dynamic language switching in your app.
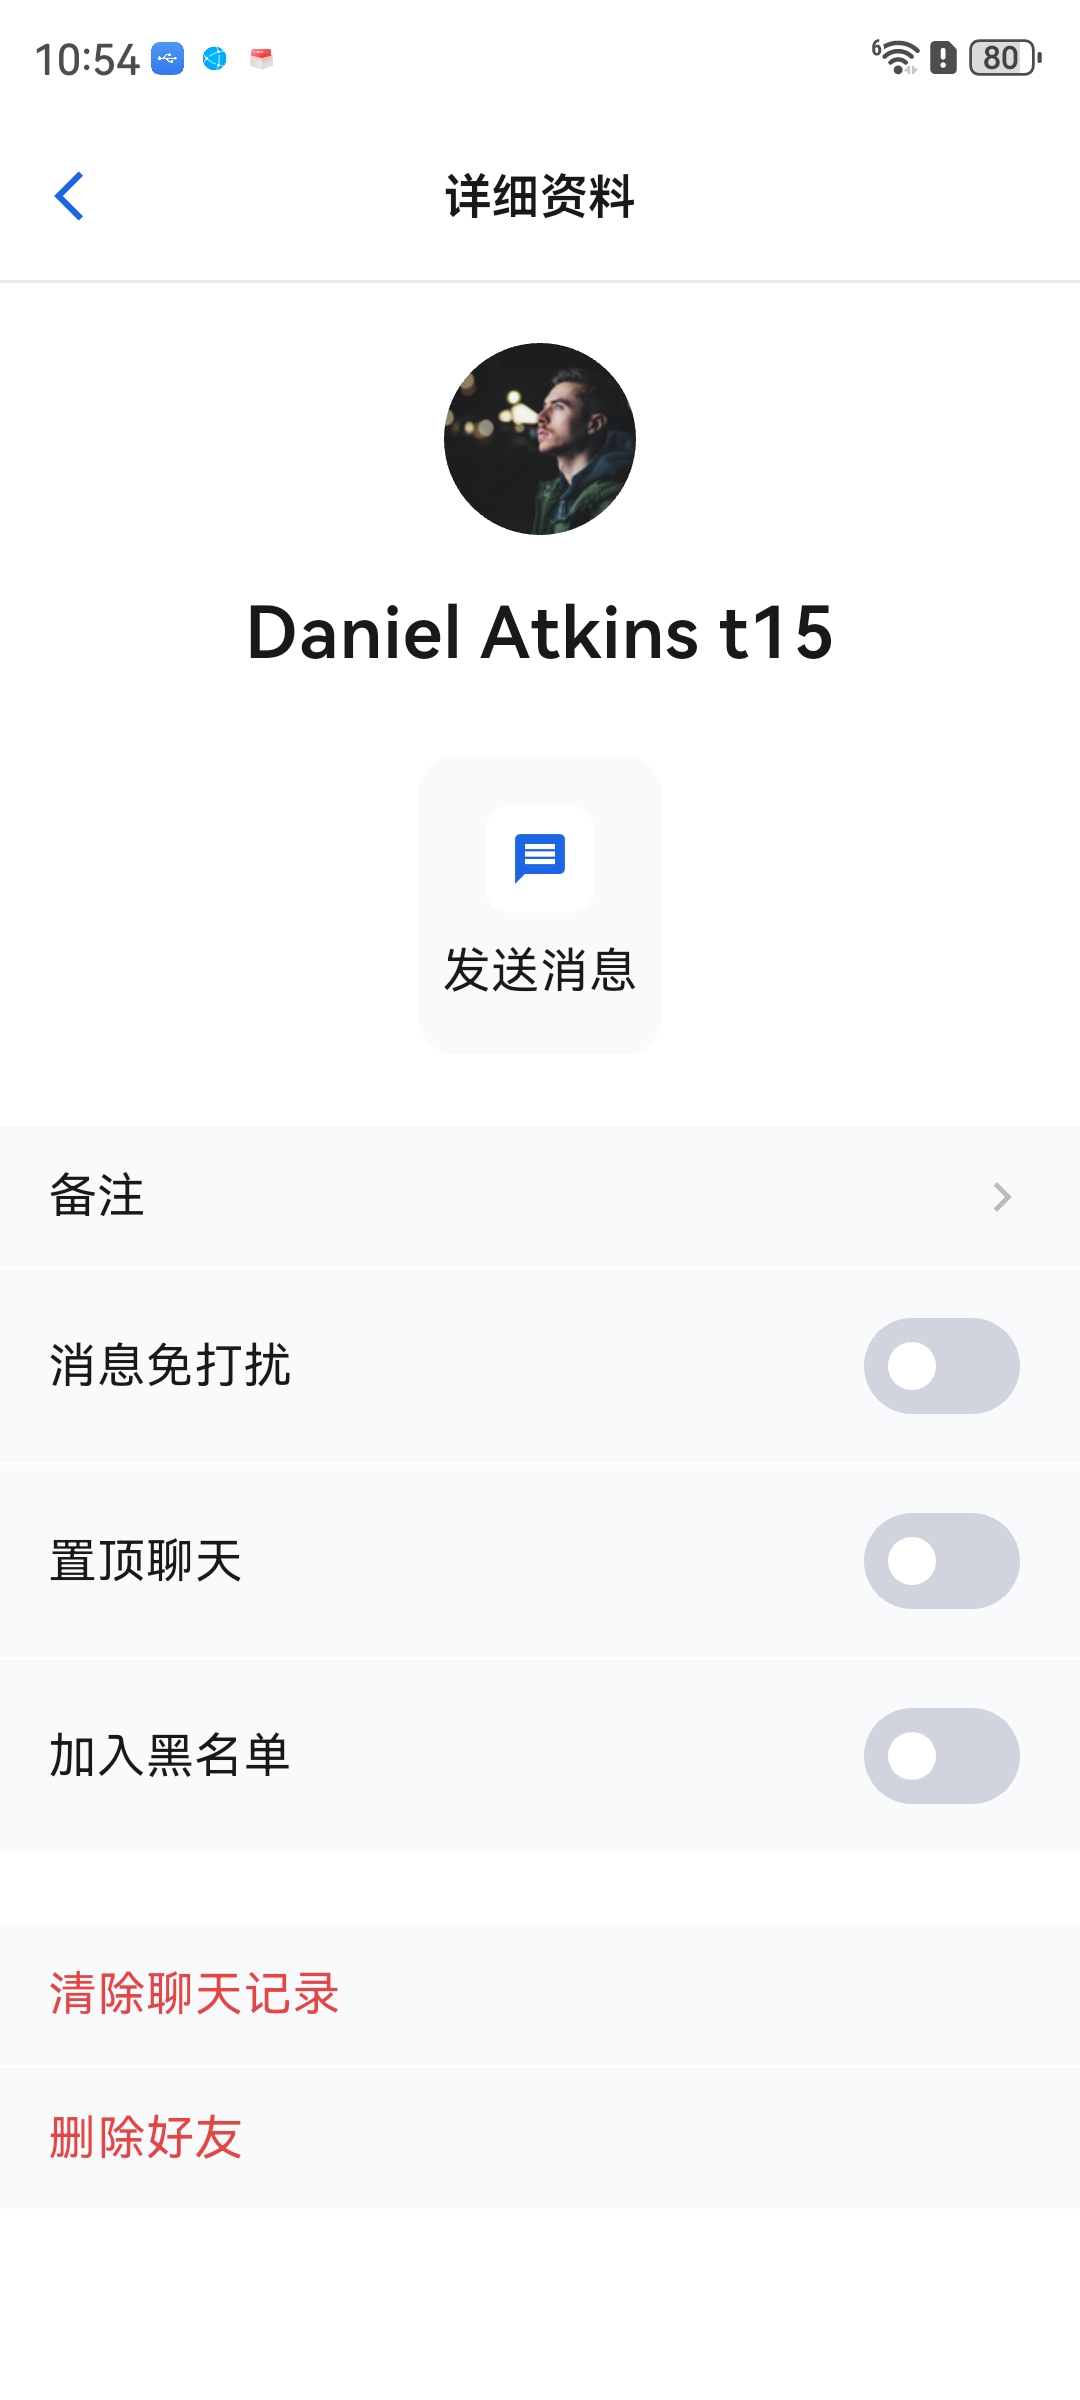
Simplified Chinese
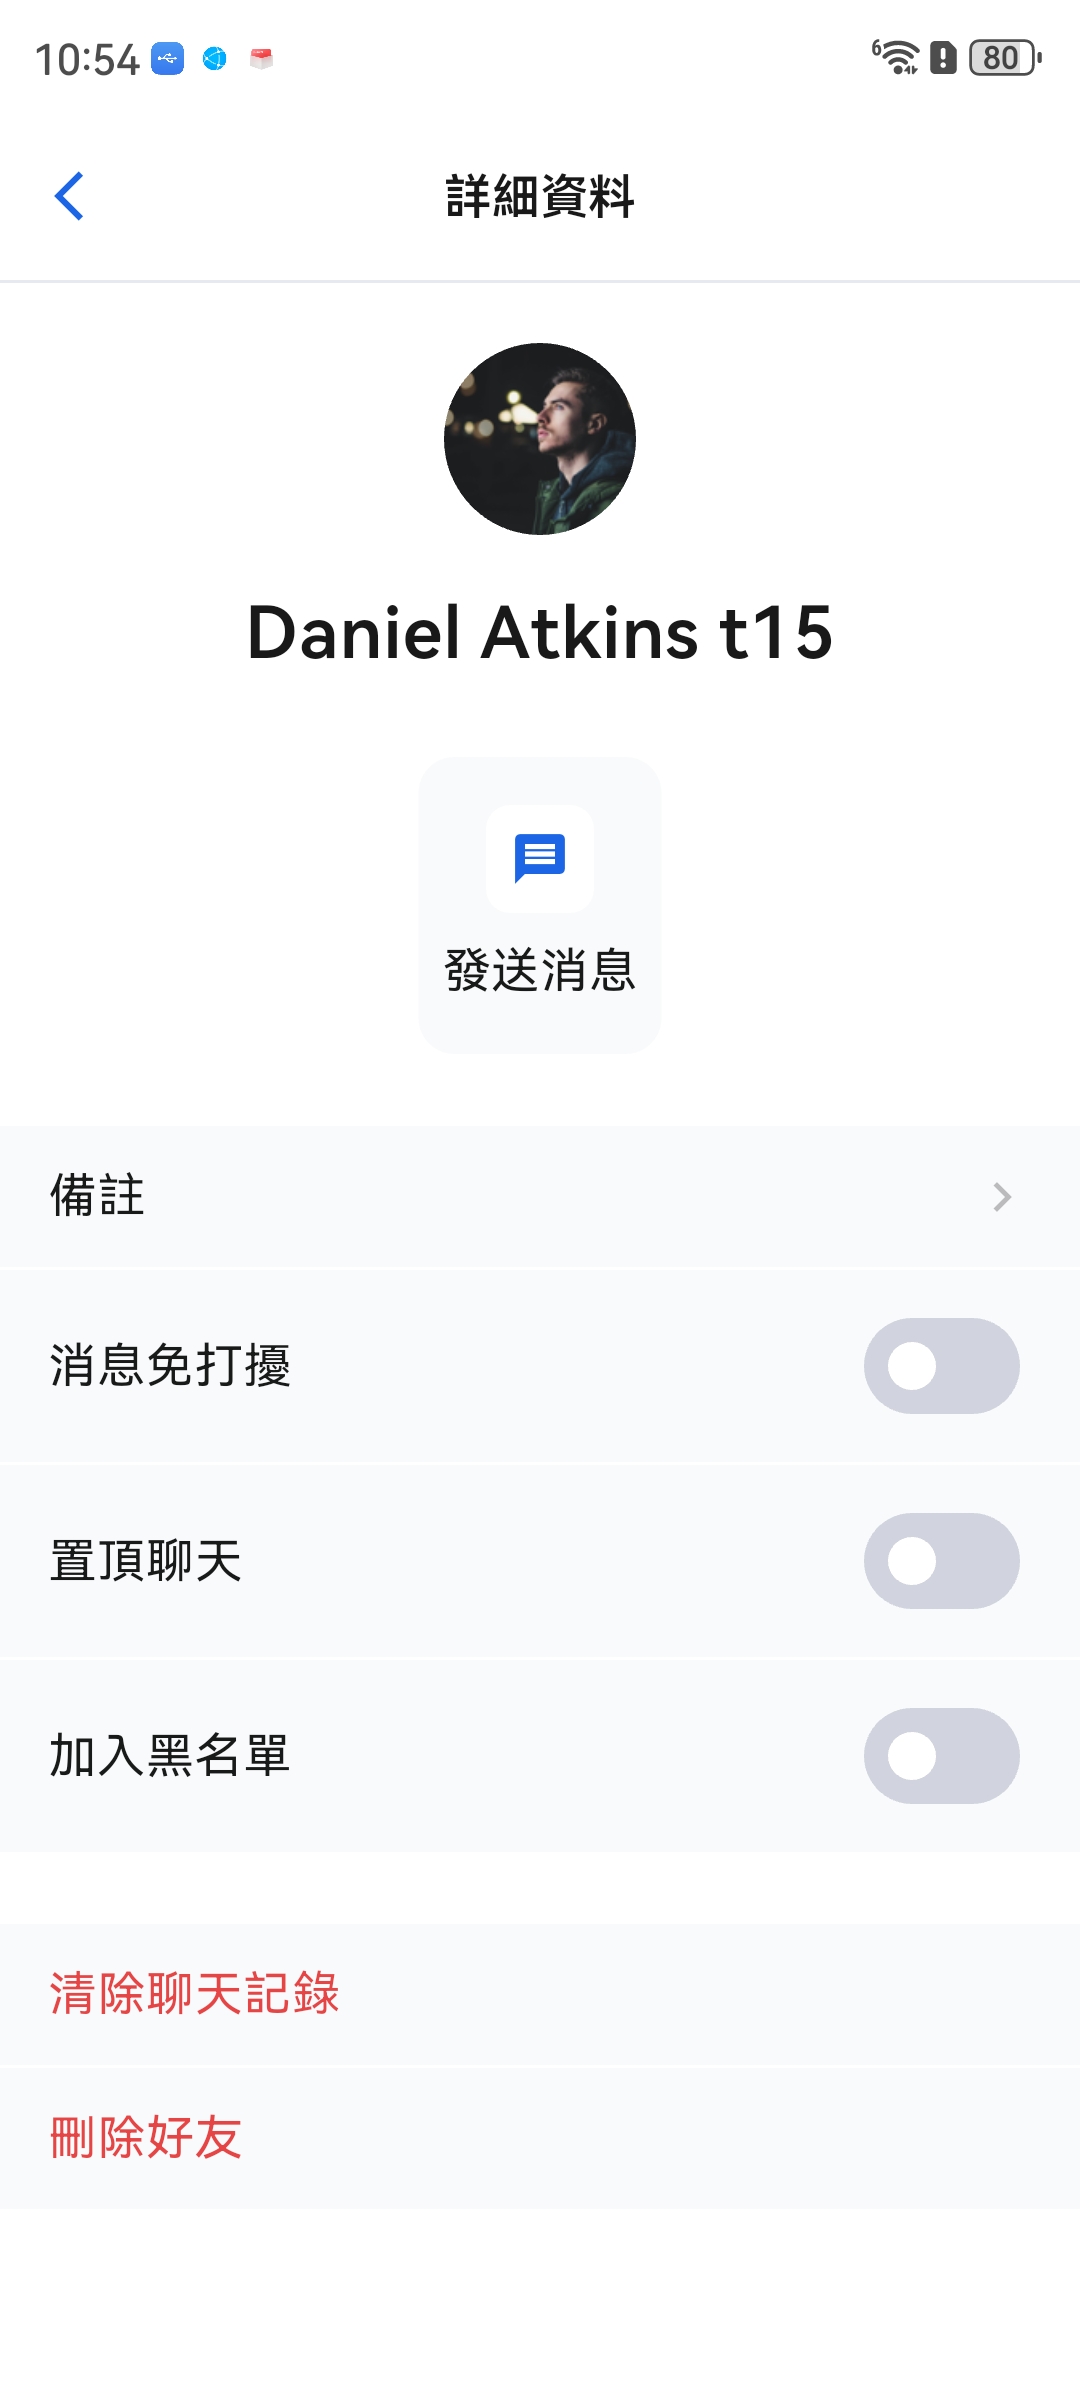
Traditional Chinese
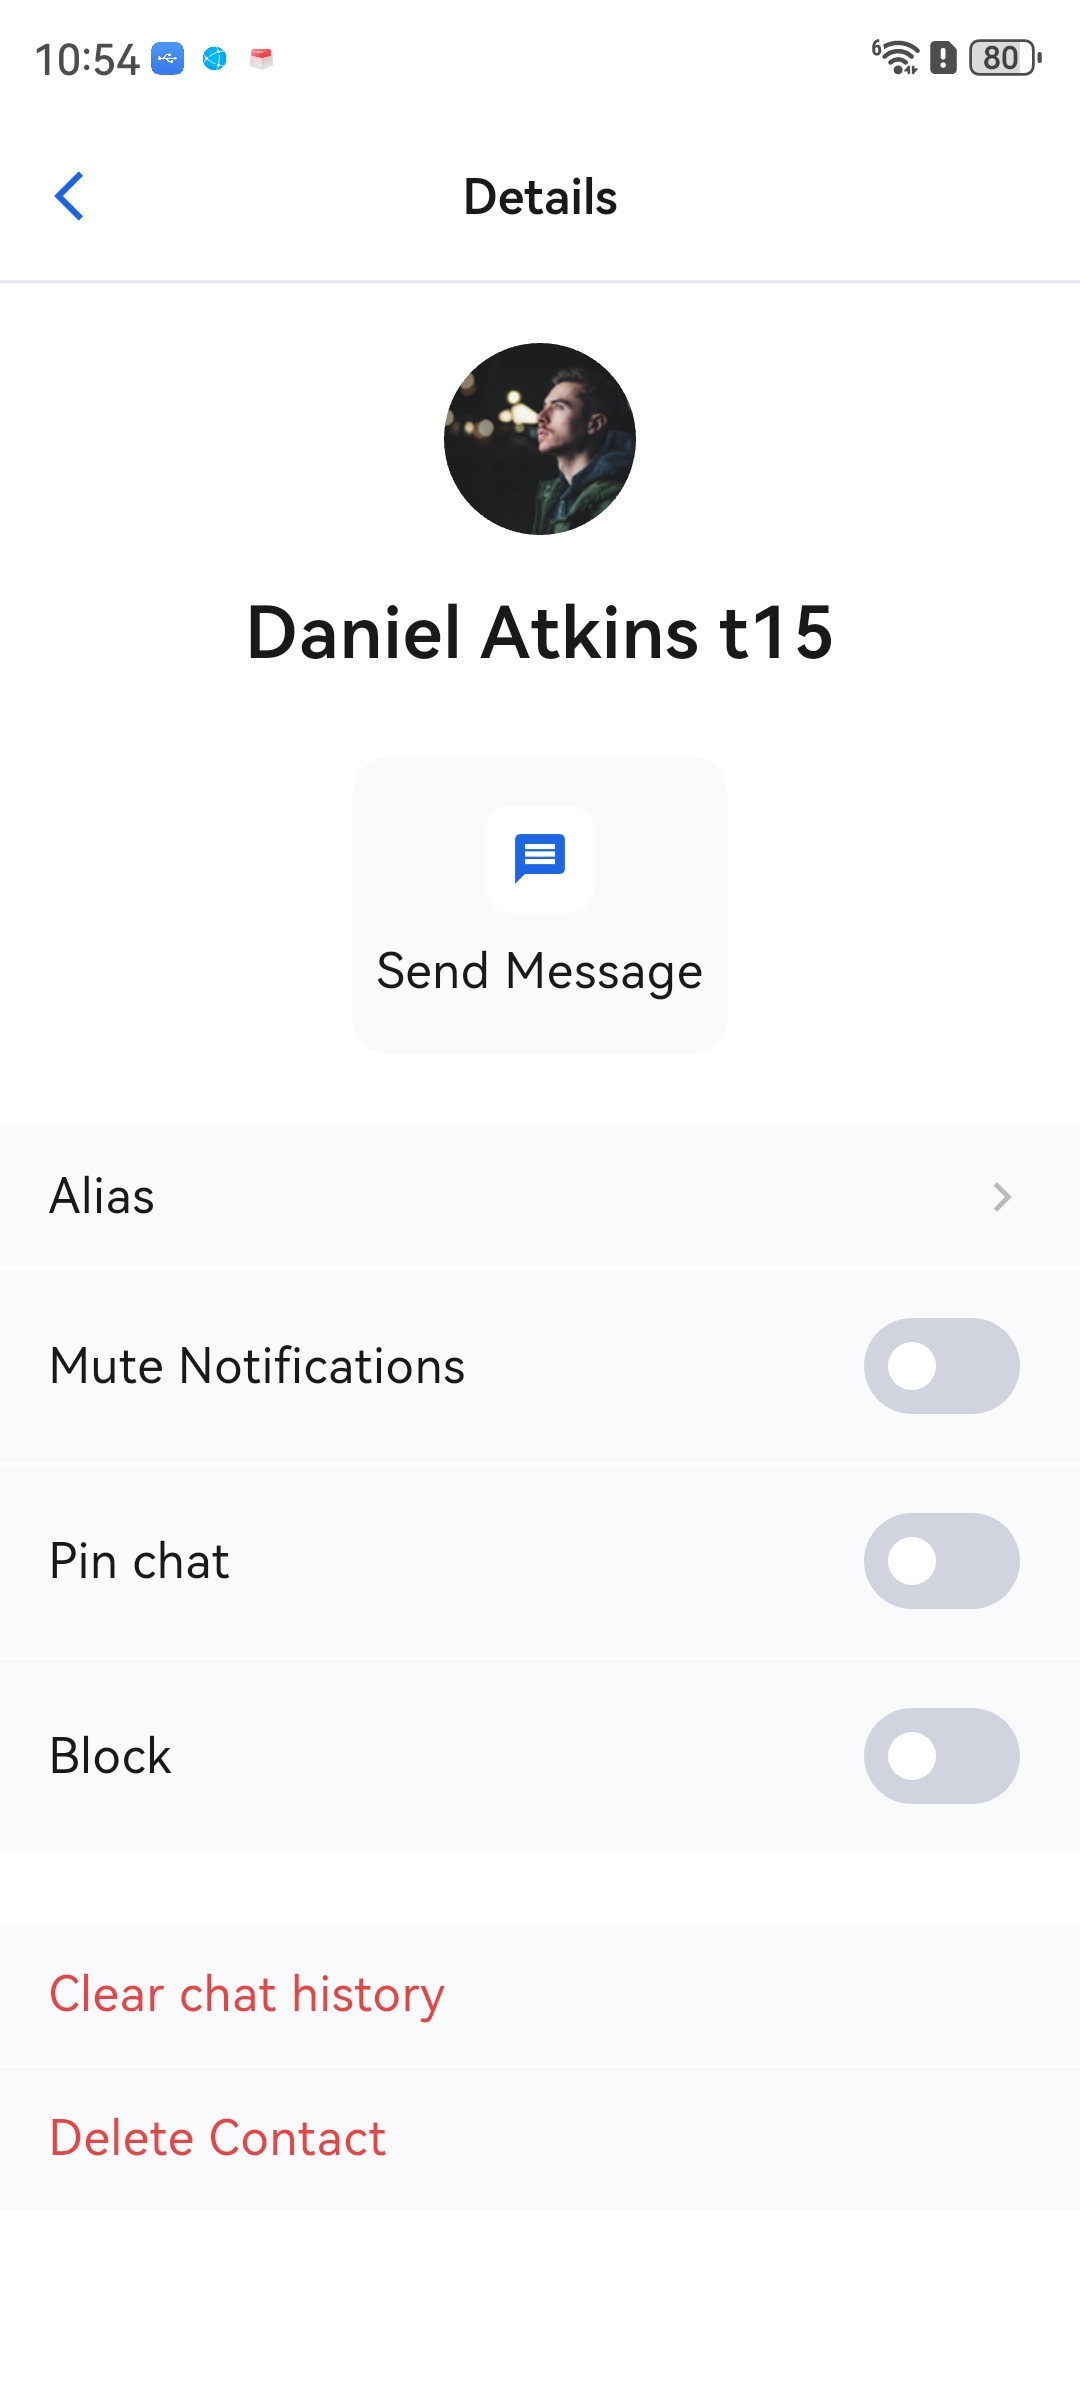
English
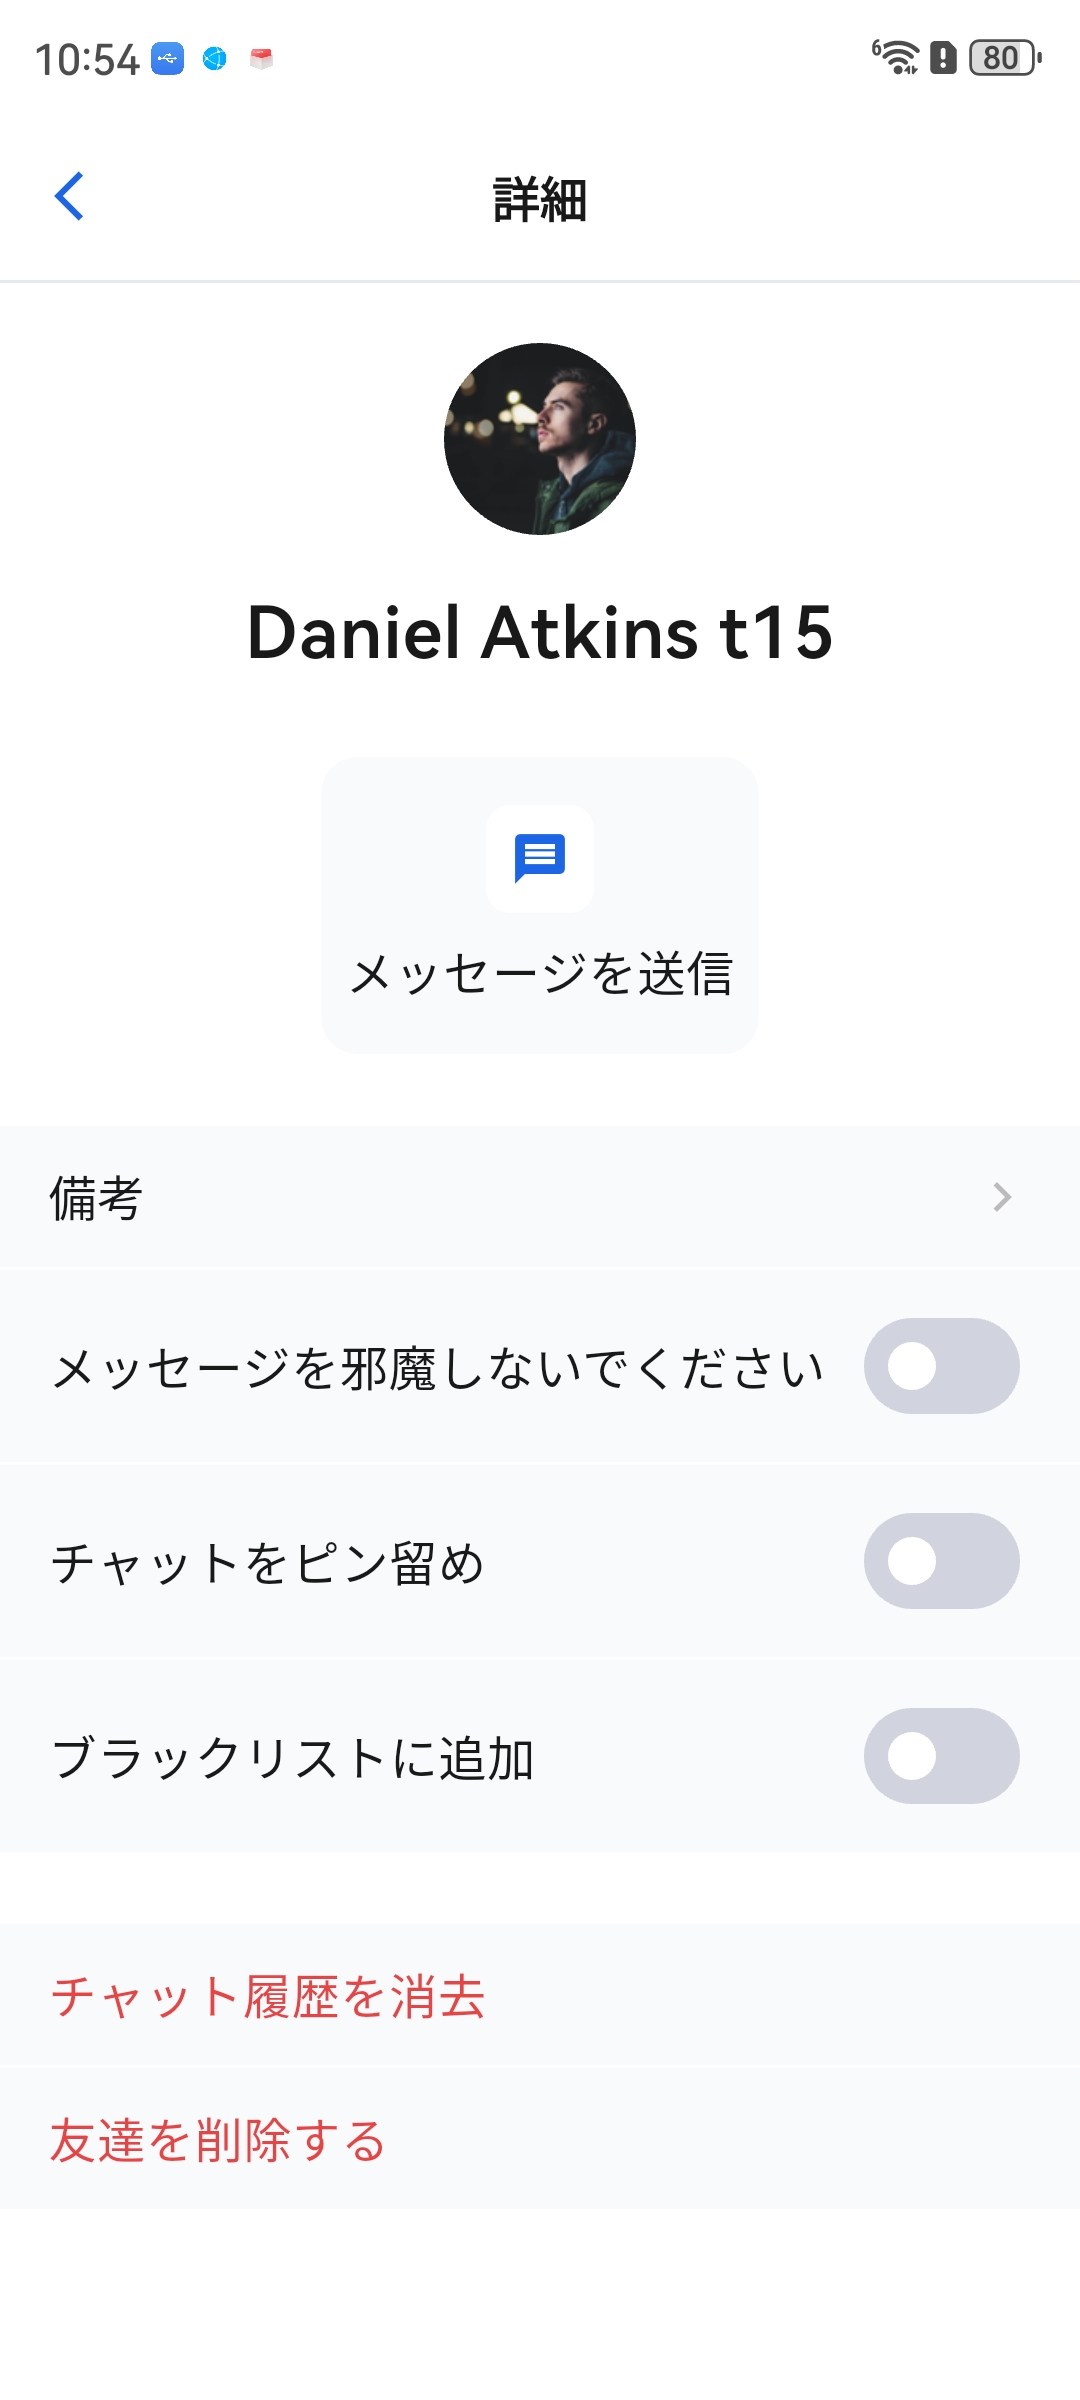
Japanese
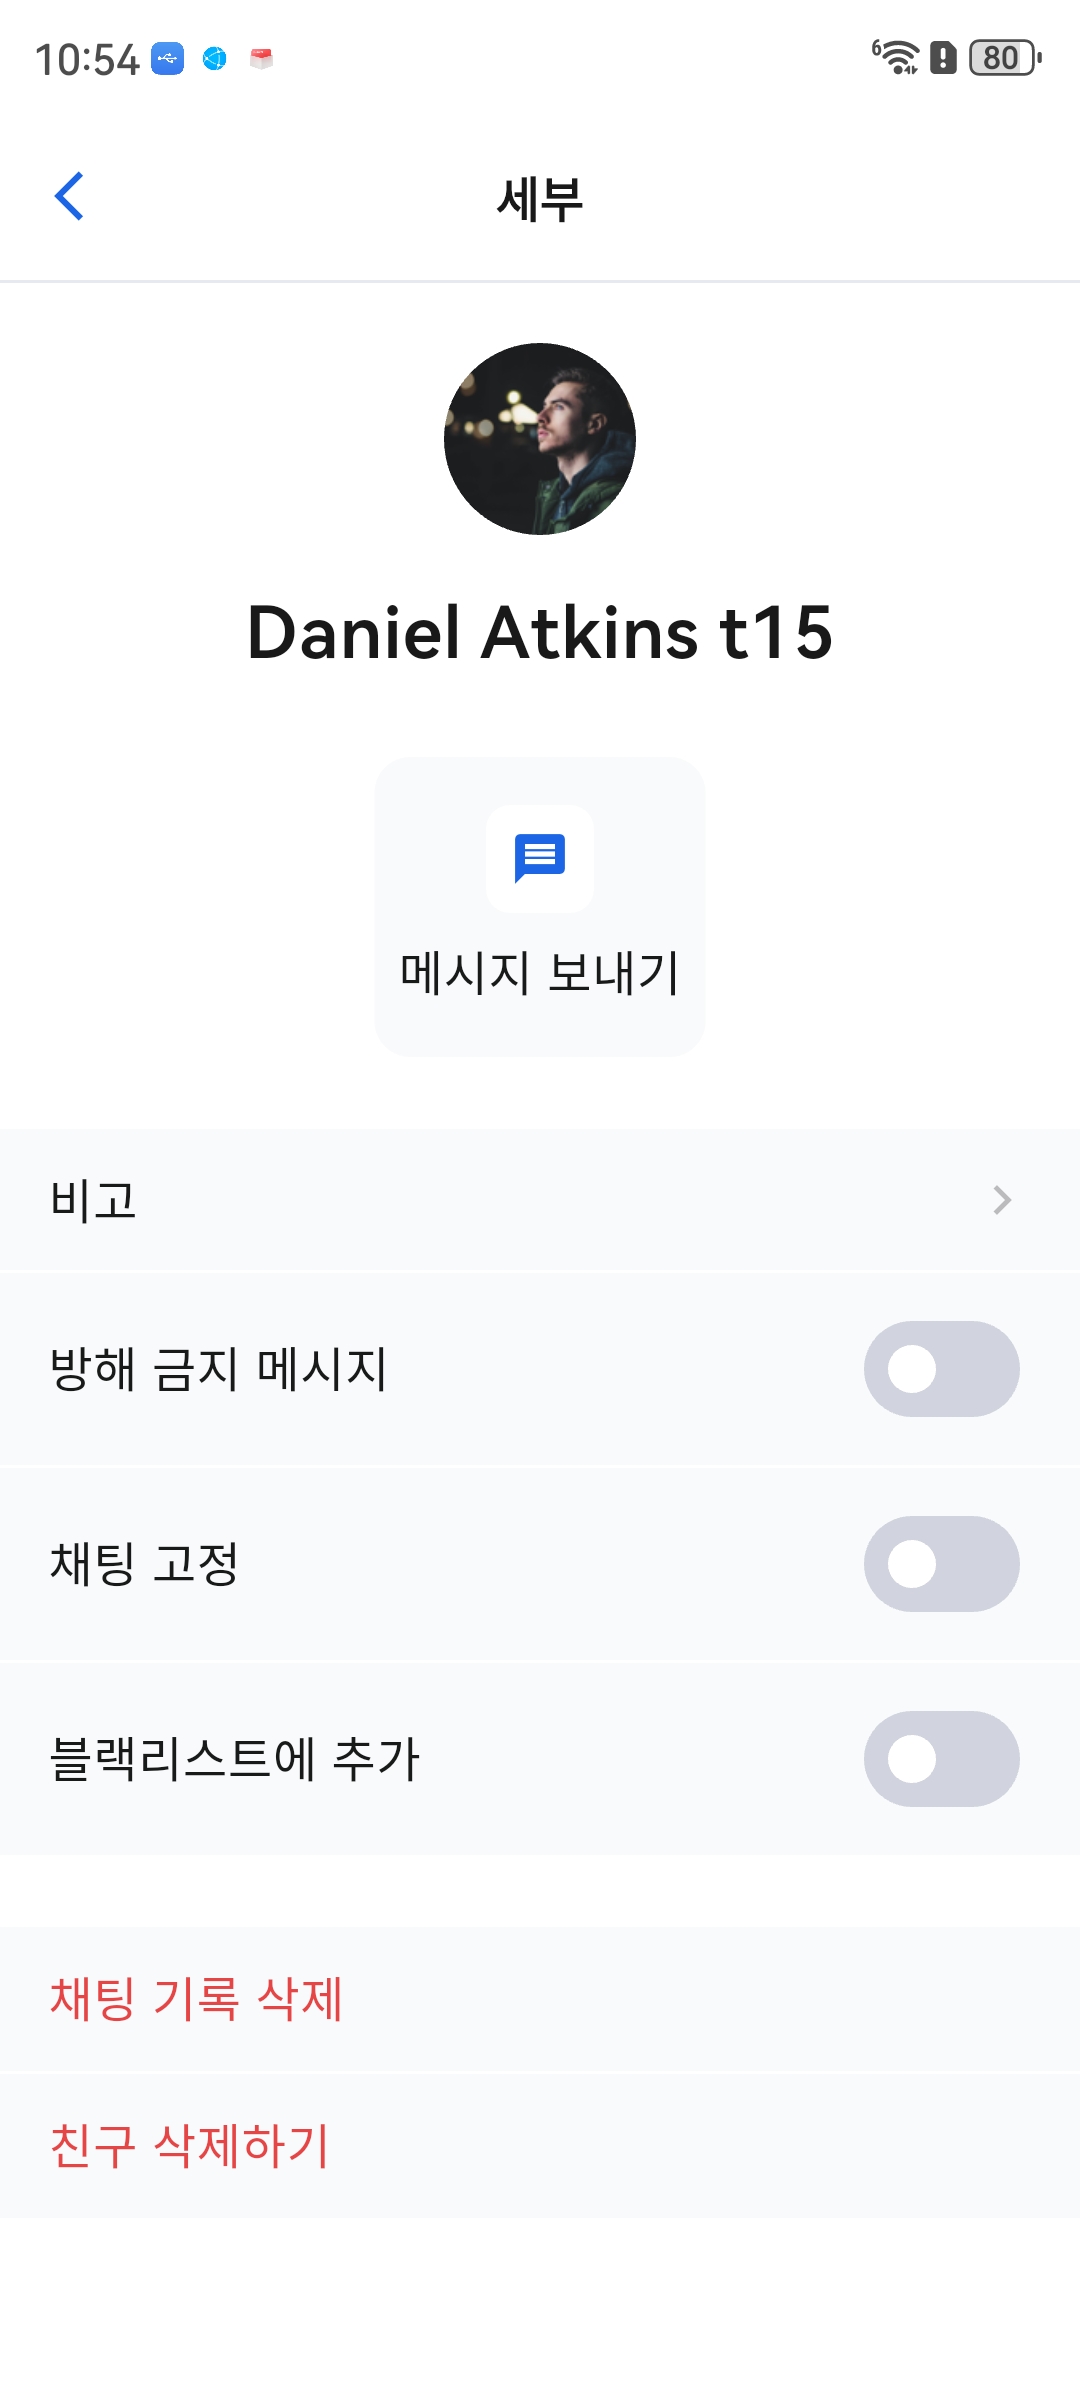
Korean
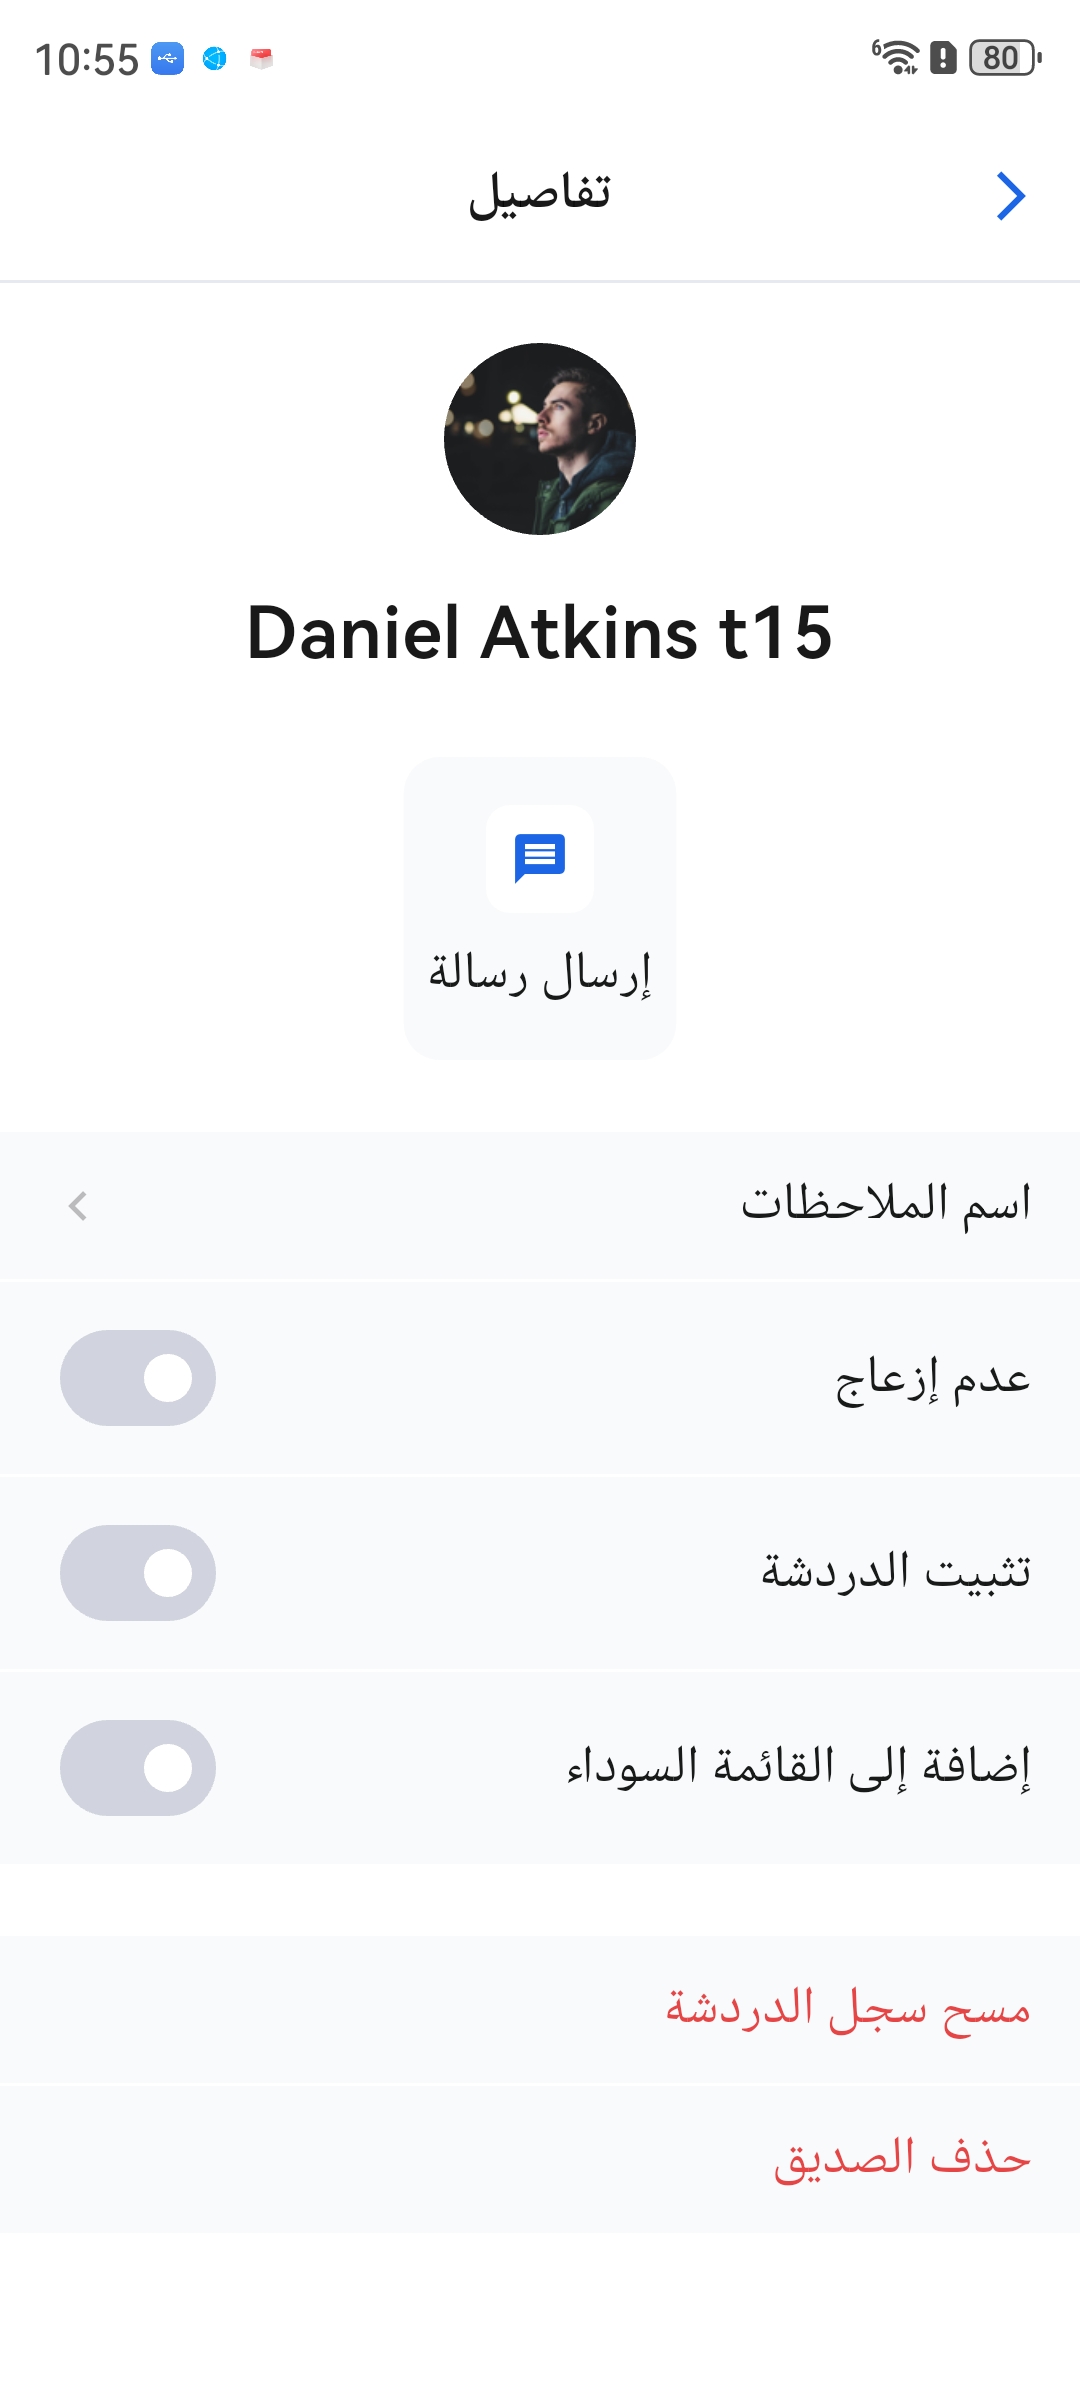
Arabic
Using Built-in Languages
Language Setup
After integrating the component as described in TUIKit Flutter, you can enable internationalization using LocaleProvider and AtomicLocalizations. Wrap your app's main entry point with MultiProvider, and configure the language settings in MaterialApp as shown below. For a complete example, see the demo:
@override
Widget build(BuildContext context){
returnComponentTheme(
child:MultiProvider(
providers:[
// Language provider for dynamic language switching; notifies components when the language changes
final localeProvider = Provider.of<LocaleProvider>(context);
returnMaterialApp(
// ...... other configurations omitted
localizationsDelegates:const[
AtomicLocalizations.delegate,
// ...... you can add other localization delegates for additional components
],
supportedLocales: AtomicLocalizations.supportedLocales,// Supported app languages
locale: localeProvider.locale,// Current language setting
);
}),
),
);
System Language Adaptation
Once language configuration is complete, the plugin automatically matches the system language by default.
Real-time Language Switching
LocaleProvider offers a changeLanguage method for switching languages at runtime. The selected language is cached locally, so your app will remember the user's choice after restart by reading the value from the locale field.
For implementation details, refer to the settings page demo. To switch languages, obtain the LocaleProvider instance and call changeLanguage:
final localeProvider = Provider.of<LocaleProvider>(context,listen:false);
// Switch to English
localeProvider.changeLanguage('en');
After switching languages, the State subclass of a StatefulWidget will trigger the didChangeDependencies lifecycle method. In this method, initialize the AtomicLocalizations object and use the built-in localized entries.
// Display the addFriend label in the current language
returnText(atomicLocale.addFriend);
}
}
Custom Internationalization
To add custom internationalization, integrate the tuikit_atomic_x component from source as described in TUIKit Flutter.
Adding Language Resource Files
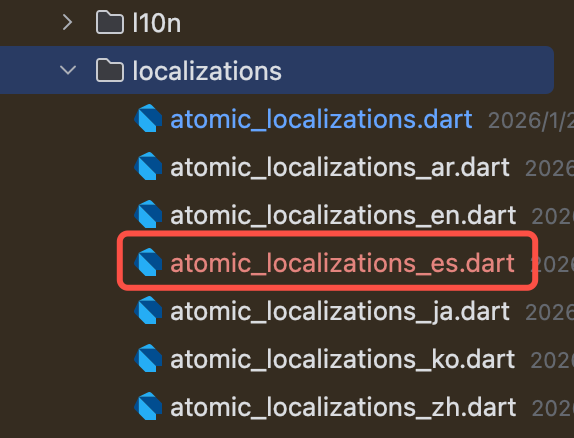
Localization entries are stored in .arb files in the l10n directory. To add a new language, create a new .arb file with the appropriate language code and translate all entries.
Create the file: Copy an existing language file and rename it to l10n_xx.arb (for example, Spanish: l10n_es.arb).
Translate the content: Update all entries in the new file with translations for your target language.
Next, run the flutter gen-l10n command in the component's root directory. This will update the localizations directory with your new language file.
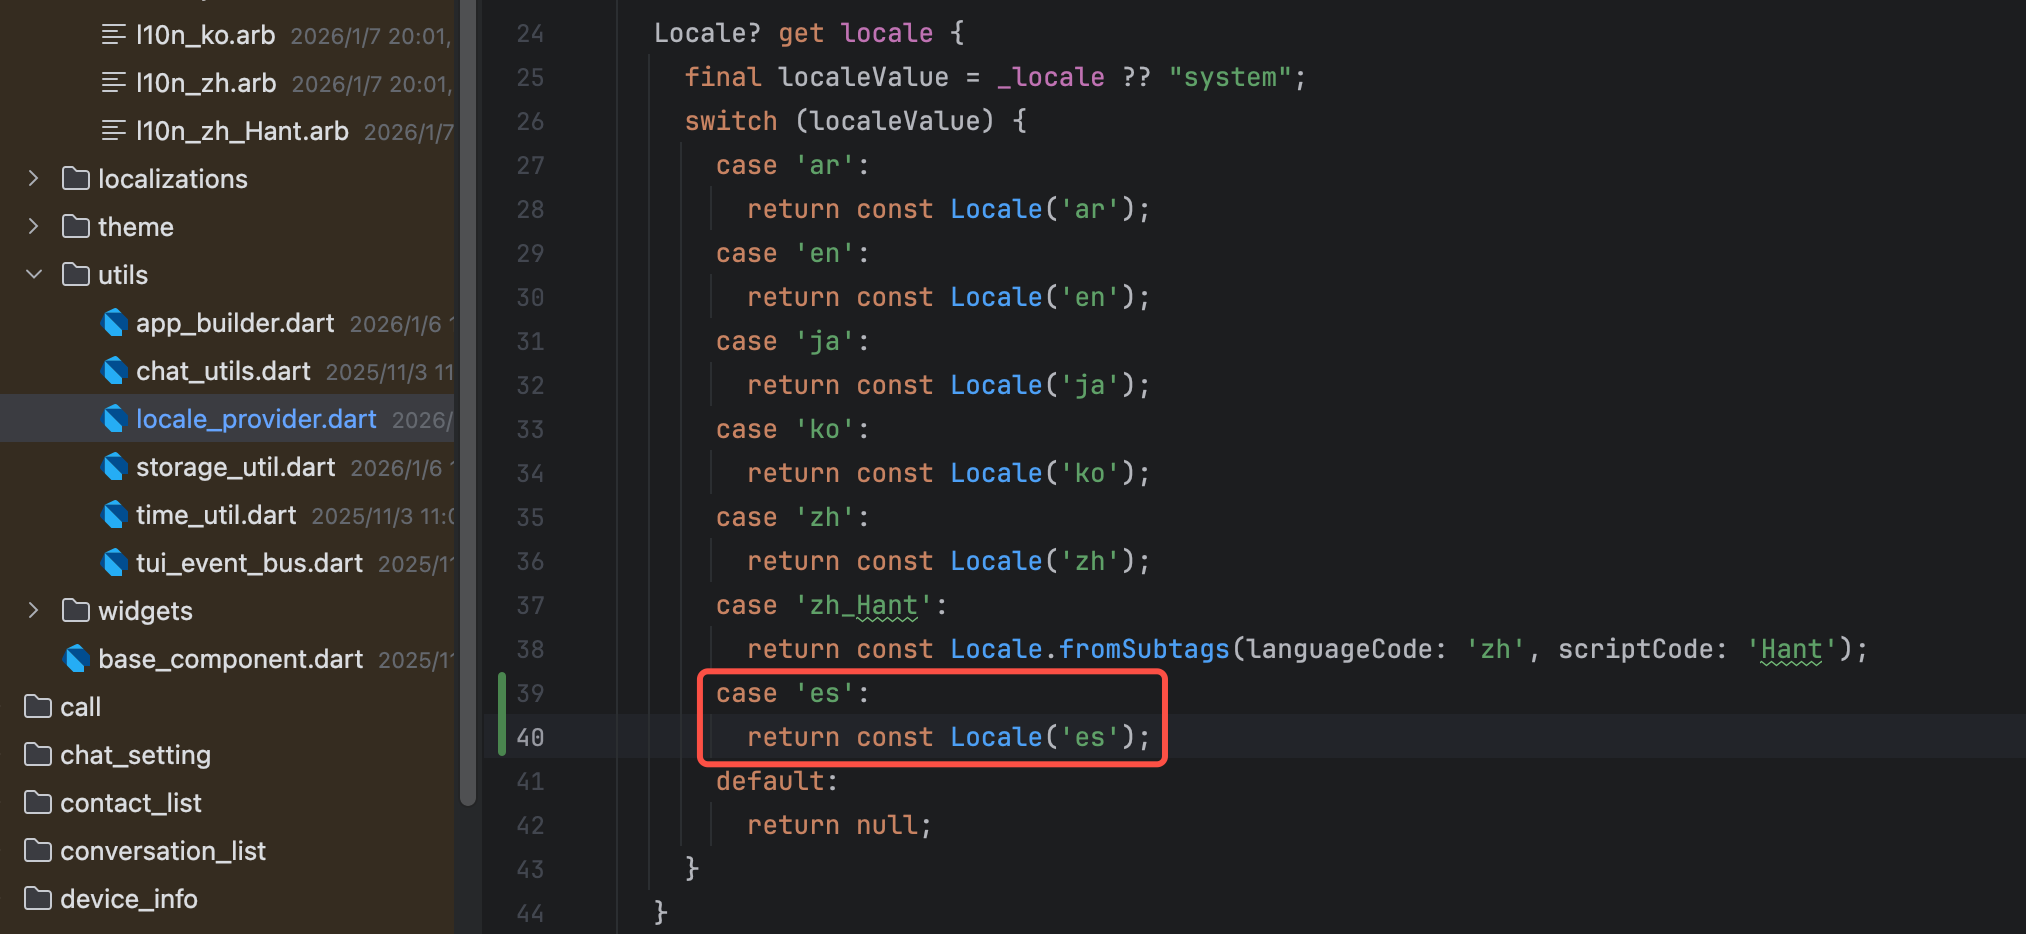
Add logic in locale_provider.dart to cache Spanish locally, then call changeLanguage('es') to switch to Spanish.
Customizing Translations
All language keys in the resource files under the l10n directory are consistent. You can modify or add translations as needed, then run the flutter gen-l10n command in the component's root directory to update the localization files.