LAMP (Linux + Apache + MySQL/MariaDB + Perl/PHP/Python) is a set of open-source software programs often used to set up dynamic websites or servers. These independent programs are usually used together and increasingly compatible with one another to form a powerful web application platform.
This tutorial guides you through the following process: starting a TencentDB instance and configuring a LAMP application with a CVM instance to connect to the highly available environment of the TencentDB instance.
The database can be separated from the environment lifecycle after you run the TencentDB instance. This allows you to connect the same database from multiple servers for simplified database operation and maintenance, so that you no longer need to worry about database installation, deployment, version update, and troubleshooting, etc.
The TencentDB and CVM instances used in the tutorial reside in the same region. If this is not the case, see Connecting to MySQL Instance
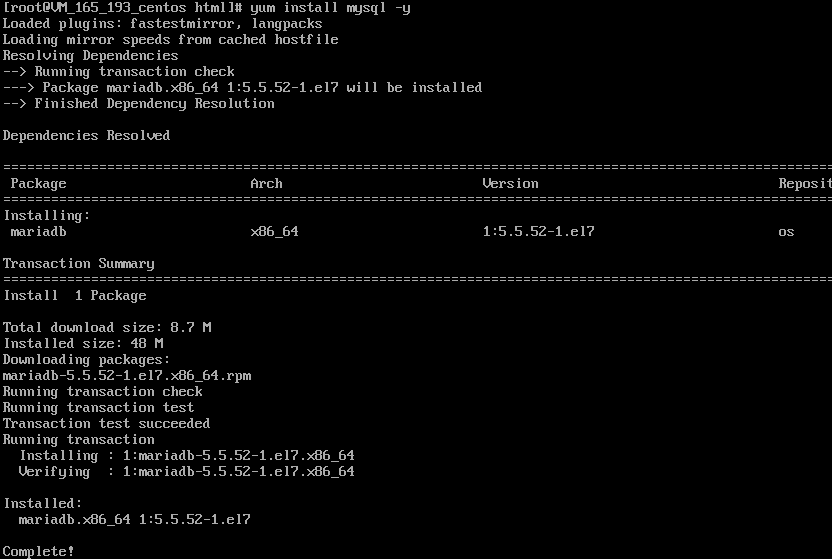
1. Install the MySQL client to the CVM instance with yum.
yum install mysql -y
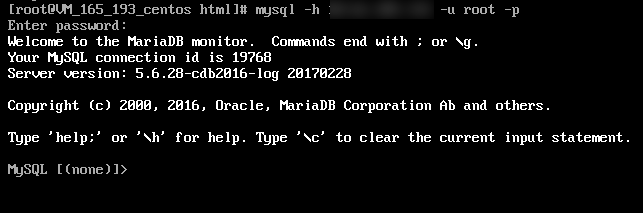
2. Connect to the TencentDB instance after the installation is completed.
mysql -h hostname -u username -p
Here, "hostname" is the private IP of the TencentDB instance and "username" is the username of your database.
3. After the connection is successful, you can close the instance and proceed to the next step.
quit;
Installing the Apache Service
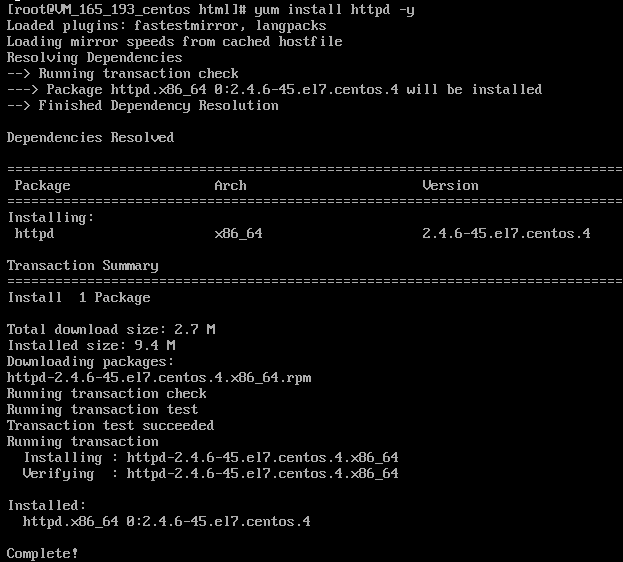
1. Install Apache in the CVM instance with yum.
yum install httpd -y
2. Start the Apache service.
service httpd start
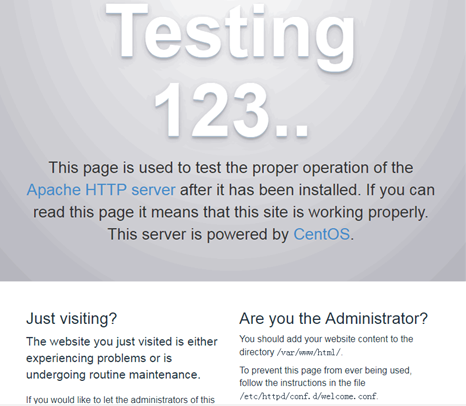
3. Test Apache.
In this step, you should configure an inbound rule with the source being all and the port protocol being TCP:80 in the security group of your CVM instance. For more information on how to configure the security group, see Security Group.
Enter http://xxx.xxx.xxx.xxx/ in your local browser (where xxx.xxx.xxx.xxx is the public IP of your CVM instance). If the following page appears, Apahce has started successfully.
Installing PHP
1. Install PHP in the CVM instance with yum.
yum install php -y
Creating a Project to Test the LAMP Environment
1. Create an info.php file in the /var/www/html directory of the CVM instance. Below is the sample code:
<?php phpinfo(); ?>
2. Restart the Apache service.
service httpd restart
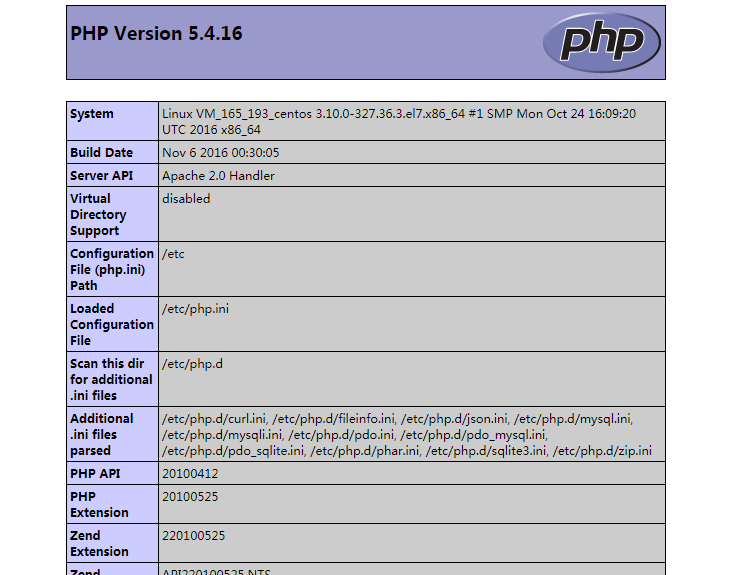
3. Enter http://xxx.xxx.xxx.xxx/info.php in your local browser (where xxx.xxx.xxx.xxx is the public IP of your CVM instance). If the following page appears, the LAMP service has been deployed successfully.