The LNMP environment is a website server architecture consisting of Nginx, MySQL or MariaDB, and PHP running on Linux. This document describes how to manually set up the LNMP environment on a Tencent Cloud CVM.
To manually set up the LNMP environment, you should familiarize yourself with common Linux commands such as installing software via YUM in CentOS, and understand the usage and version compatibility of the software to be installed.
Note:
It’s recommended that you can configure the LNMP environment through the image environment of Tencent Cloud marketplace, and it may take a long time to set up the LNMP environment manually.
Software
The following software is used to build the LNMP environment.
Linux: Linux operating system. This document uses CentOS 7.6 as an example.
Nginx: web server. This document uses Nginx 1.17.7 as an example.
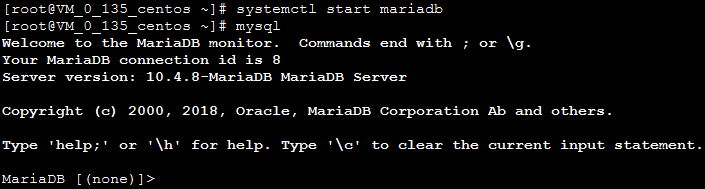
MariaDB: database. This document uses MariaDB 10.4.8 as an example.
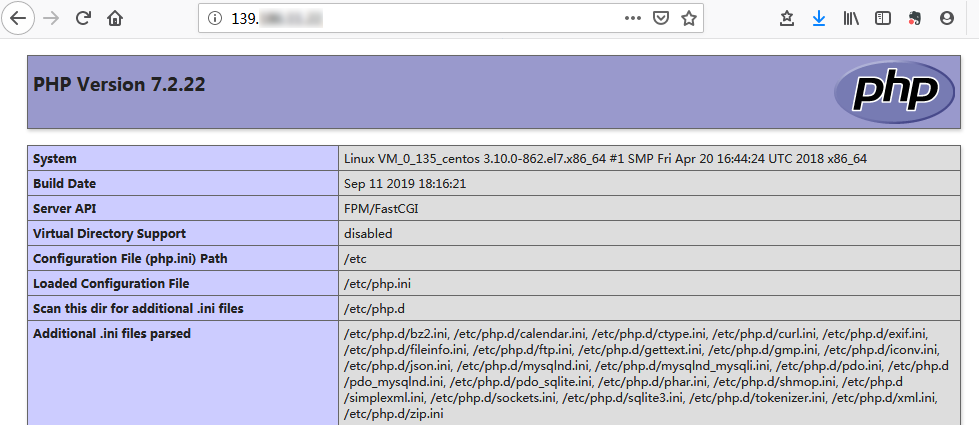
PHP: scripting language. This document uses PHP 7.2.22 as an example.
3. Click Esc and enter :wq to save and close the file.
4. Run the following command to install Nginx.
yum install -y nginx
5. Run the following command to open the default.conf file.
vim /etc/nginx/conf.d/default.conf
6. Press i to switch to the edit mode to modify the default.conf file.
7. Find server{...} and replace the content inside the curly brackets with the following. This is to cancel the listening of the IPv6 address and configure Nginx to realize linkage with PHP.
8. Press Esc and enter :wq to save and close the file.
9. Run the following command to start Nginx.
systemctl start nginx
10. Run the following command to enable Nginx autostart.
systemctl enable nginx
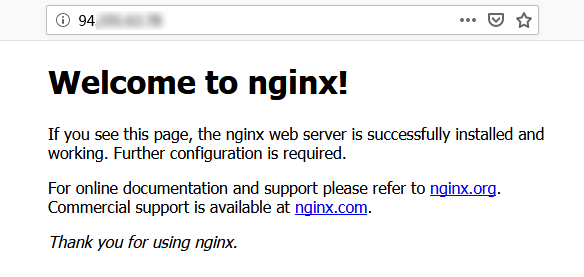
11. Enter the following URL in your local browser and verify whether the Nginx service is working properly.
http://[Public IP address of the CVM instance]
If the following appears, Nginx has been successfully installed and configured.
Step 3: install a database
1. Run the following command to check if MariaDB is already installed.
rpm -qa |grep -i mariadb
If the following appears, MariaDB is already installed.
To avoid conflicts between different versions, run the following command to remove the installed MariaDB.
yum -y remove [Package name]
If nothing is returned, MySQL has not been installed. In this case, proceed to the next step.
2. Execute the following command to create the MariaDB.repo file under /etc/yum.repos.d/.
vi /etc/yum.repos.d/MariaDB.repo
3. Press i to switch to edit mode and enter the following content to add MariaDB.
Note:
Different operating systems require different versions of MariaDB. Download MariaDB that is compatible with your operating system.
If your CVM has private network access, change mirrors.cloud.tencent.com to the private network address mirrors.tencentyun.com. In this way, your public network traffic will not be affected and the access is faster.
# MariaDB 10.4 CentOS repository list - created 2019-11-05 11:56 UTC