2. On the instance management page, proceed according to the actually used view mode:
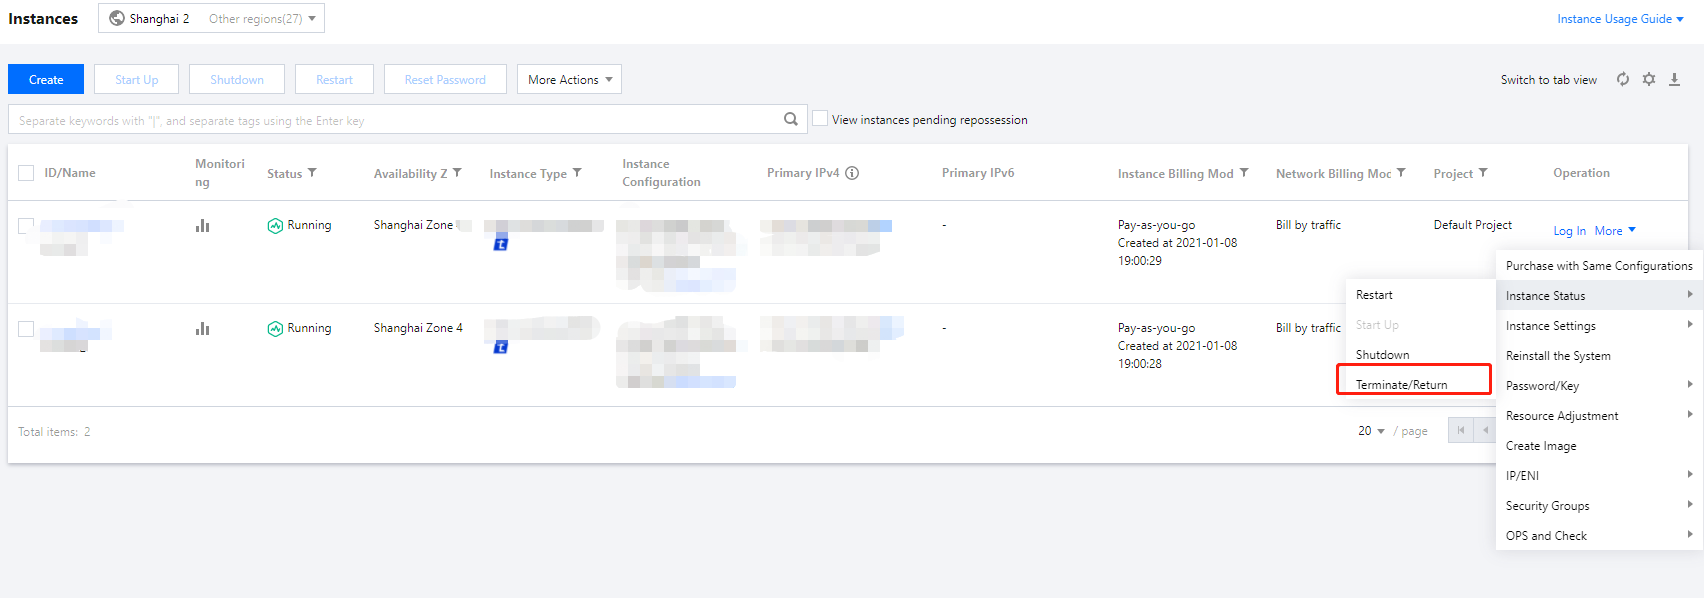
List view: in the row of the target instance, select More > Instance Status > Terminate/Return on the right as shown below:
If you need to terminate multiple instances at the same time, select the instances and click More Actions > Terminate/Return at the top of the list.
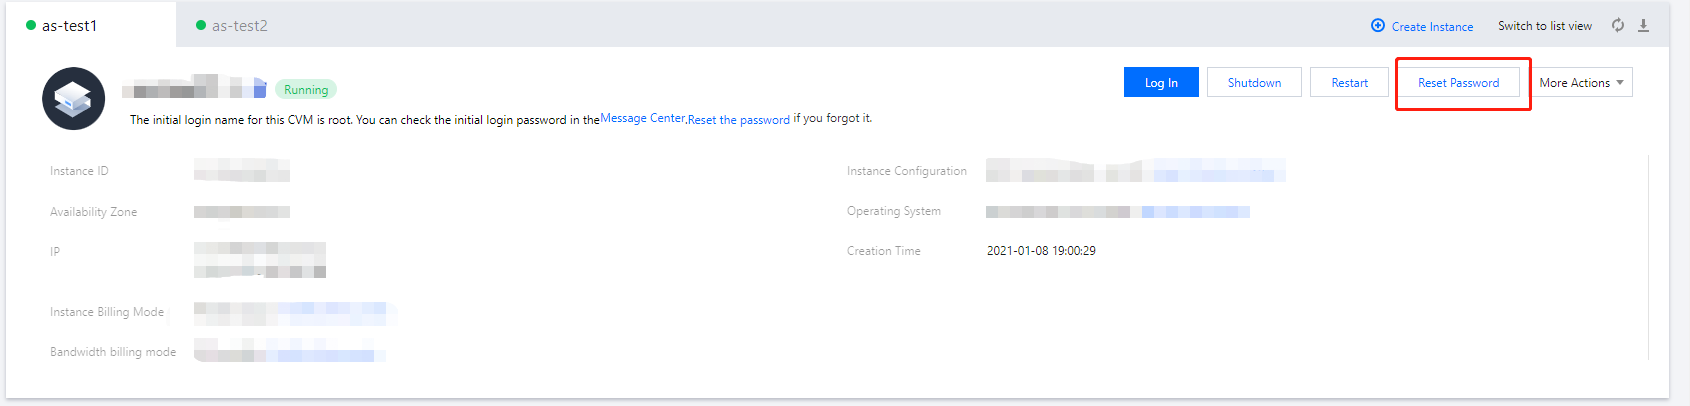
Tab view: on the details page of the target instance, click Terminate/Return in the top-right corner of the page as shown below:
3. In the Terminate/Return pop-up window, choose Immediate Termination or Timed Termination.
Immediate Termination: if you choose immediate termination, you can choose whether to release resources now or 2 hours later. If you choose to release resources now, the instance data will be cleared and cannot be restored.
Timed Termination: if you choose timed termination, you need to specify the termination time. The instance will be terminated and released upon expiration, and the data cannot be restored.
4. After choose a termination option, click Next to confirm the actual resources to be terminated or retained.
5. After confirming the resources to be terminated, click Start Termination.
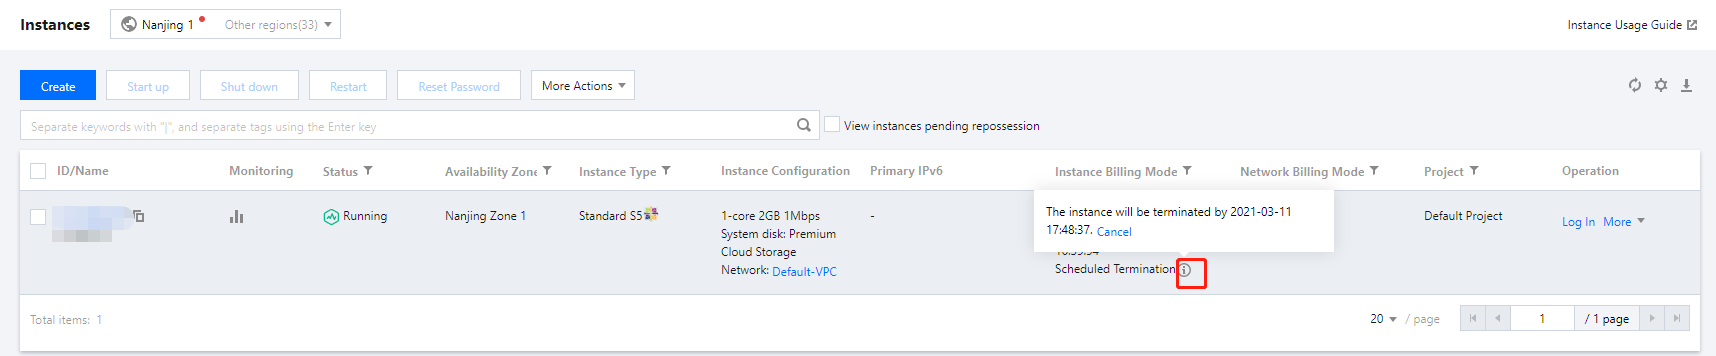
2. In the instance list, find the instance for which you want to cancel timed termination. In the "Instance Billing Mode" column, find "Timed Termination" and move the mouse cursor to
to display the timed termination dialog box, as shown below:
3. Click Cancel. A dialog box is displayed prompting you to confirm the cancellation.
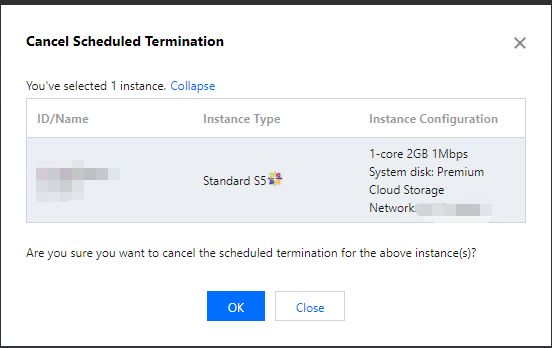
4. In the dialog box, confirm the information of the instance for which you want to cancel timed termination and click OK. The cancellation takes effect immediately, as shown below: