- Tutorial
- Release Notes and Announcements
- Release Notes
- Public Image Release Notes
- Announcements
- Updating Some Image Pip Package Management Tools for CentOS 7
- CentOS 8 End of Maintenance
- Discontinuation of Support for SUSE Commercial Images
- Price Reduction in Selected Availability Zones
- OrcaTerm Proxy IP Addresses Updates
- Pay-as-you-go Price Adjustments for Standard S3 CVMs in the Silicon Valley Region
- Vulnerability repairing for Linux images
- Stopping supporting for Ubuntu 10.04 images
- Solution to Tomcat Start Failure on Ubuntu14.04
- Upgrading Virtio network card drive for Windows CVMs
- About Configuration of Security Group Port 53
- Windows Server 2003 System Images End of Support Announcement
- End of Support for Windows Server 2008 R2 Enterprise Edition SP1 64-bit System Images
- Product Introduction
- Purchase Guide
- Getting Started
- Operation Guide
- Operation Guide Overview
- Use Limits
- Convenience Features
- Instances
- Creating Instances
- Managing Instance Launch Template
- Batch Sequential Naming or Pattern String-Based Naming
- Logging In to Linux Instances
- Logging in to Windows instance
- Adjusting Configuration
- View Instance Details
- Renaming Instances
- Resetting Instance Password
- Managing Instance IPs
- Changing Instance Subnet
- Changing Security Group
- Conversion from Pay-As-You-Go to Monthly Subscription
- Searching for Instances
- Exporting Instance List
- Renewing Instances
- Starting Up Instances
- Shutting Down Instances
- Restarting Instances
- Reinstalling System
- Using Tencent Cloud Automation Tools to execute commands
- Terminating/Returning Instances
- Enabling Instance Termination Protection
- Instance Repossession or Recovering
- Spot Instances
- Querying the Repossession Status of a Spot Instance
- No Charges When Shut Down for Pay-as-You-Go Instances
- Managing Roles
- Enabling and Disabling Hyper-Threading
- Reserved Instances
- Images
- Migrating Servers
- Maintenance Tasks
- Cloud Disks
- Networking
- Security
- Security Groups
- Protection of Sensitive Operations
- Managing Login Password
- Managing SSH Keys
- Spread Placement Group
- Unblocking Port 25
- Tags
- Monitoring and Alarms
- Sample Console Configuration
- Best Practice
- Best Practices
- Choosing the CVM Model
- Setting up a Website
- Building an Environment
- Building a Website
- Building an Application
- Building a Visual GUI
- Data Backup
- Uploading Local Files to CVM
- Copying Local Files to CVMs
- Uploading Files from Windows to a Windows CVM via MSTSC
- Uploading Files from MacOS to Windows CVM Using MRD
- Uploading Files from Linux to Windows CVM using RDP
- Uploading files via WinSCP to a Linux CVM from Windows
- Uploading Files from Linux or MacOS to Linux CVM via SCP
- Uploading Files from Linux to a CVM Using FTP
- Uploading Files from Windows to a CVM Using FTP
- Other CVM Operations
- CVM Access to COS via a Private Network
- Best Practices for Boot Mode Legacy BIOS and UEFI
- Recovering Data on Linux CVMs
- Managing Disk Space on Windows CVMs
- Changing Kernel of a Linux Instance Manually
- Setting Up Windows-based AD Domain on a CVM
- Network Performance Test
- High-throughput Network Performance Test
- Using USB/IP to Share USB Devices in Linux
- Using RemoteFx to Redirect USB Devices in Windows
- Using AVX-512 Instructions to Accelerate AI Applications on CVM
- Building Tencent SGX Confidential Computing Environment
- Configuring Persistent Memory in M6p Instances
- Calling Cloud APIs via Python to Share Custom Images in Batches
- Operations Guide
- Initializing Data Disks
- Environment Configurations
- Installing Software
- User Data
- Work with Operating Systems
- System Activation
- System Updates
- System Shutdown
- Configuring High-performance Power Management
- Windows Recovery Mode
- Updating the Virtio ENI Driver
- Modifying SID
- Modifying VNC Resolution
- Ensuring Unique SIDs for CVMs Using Sysprep
- Use of the atop Monitoring Tools by Linux Instances
- Introduction to Linux Kernel Parameters
- Others
- Troubleshooting
- Instance-Related Failures
- CVM Login Failures
- Windows Instance Login Failures
- Windows Instance Login Failures
- An authentication error occurred when you tried to log in to a Windows instance remotely
- Failed to Reset the CVM Password or the CVM Password Is Invalid
- Connection to a Windows CVM through Remote Desktop was denied
- Requires network-level identity verification
- Problems occurred when you tried to log in to a Windows CVM remotely on Mac
- Failed to log in to a Windows CVM due to high CPU and memory usage
- Failed to connect to a remote computer through Remote Desktop
- Credentials Not Work
- Windows instance: no remote Desktop license server can provide license
- Remote Login Failure Due To Port Issues
- Linux Instance Login Failures
- Linux Instance Login Failures
- Unable to Log in to a Linux Instance via SSH Key
- Failing to log in to a Linux CVM due to high CPU and memory usage
- Remote Login Failure due to Port Issues
- VNC Login Error (Module is Unknown)
- VNC Login Error (Account Locked due to XXX Failed Logins)
- VNC Login Error (Login Failed with Correct Password)
- VNC or SSH Login Error (Permission Denied)
- Login Failure Due to /etc/fstab Configuration Errors
- sshd Configuration File Permissions
- Infinite Loop Call in /etc/profile
- Login Failure Due to Server Isolation
- Login Failure Due to High Bandwidth Occupation
- Remote Connect Failure Due to Security Group Settings
- Troubleshooting Linux Instance Issues via VNC and Rescue Mode
- Failed to shut down or restart a CVM
- Network Namespace Creation Failure
- Kernel and IO Issues
- Missing System bin or lib Soft Link
- Suspected Infection with Virus
- "no space left on device" Error During File Creation
- Linux CVM Memory Issues
- Network Related Failures
- Instance-Related Failures
- API Documentation
- History
- Introduction
- API Category
- Making API Requests
- Region APIs
- Instance APIs
- DescribeInstances
- DescribeInstanceFamilyConfigs
- DescribeZoneInstanceConfigInfos
- DescribeInstanceTypeConfigs
- DescribeInstancesOperationLimit
- DescribeInstanceVncUrl
- InquiryPriceRunInstances
- InquiryPriceResetInstance
- InquiryPriceResetInstancesType
- InquiryPriceResizeInstanceDisks
- RunInstances
- StartInstances
- RebootInstances
- StopInstances
- ResetInstance
- TerminateInstances
- ResetInstancesType
- ResizeInstanceDisks
- ResetInstancesPassword
- ModifyInstancesAttribute
- ModifyInstancesProject
- InquirePricePurchaseReservedInstancesOffering
- DescribeReservedInstancesConfigInfos
- DescribeInstancesStatus
- PurchaseReservedInstancesOffering
- Cloud Hosting Cluster APIs
- Placement Group APIs
- Image APIs
- Key APIs
- Security Group APIs
- Network APIs
- Instance Launch Template APIs
- Data Types
- Error Codes
- FAQs
- Related Agreement
- Glossary
Overview
This document describes how to release disk space on a Windows Server 2012 R2-based Tencent Cloud CVM when the disk space is insufficient. It also describes how to perform routine disk maintenance.
Directions
Releasing disk space
You can delete large files or obsolete files to free up disk space. If the disk space is still insufficient after deleting large and obsolete files, you can expand the disk space. To do this, please see Cloud Disk Expansion Scenarios.
Deleting large files
1. Log in to a Windows instance using either the RDP file (recommended) or the remote desktop.
2. Click 
3. Select the disk in which you want to free up space, and press Crtl + F to open the search tool.
4. Select Search -> Size and filter files by the system-defined size options, as shown below:
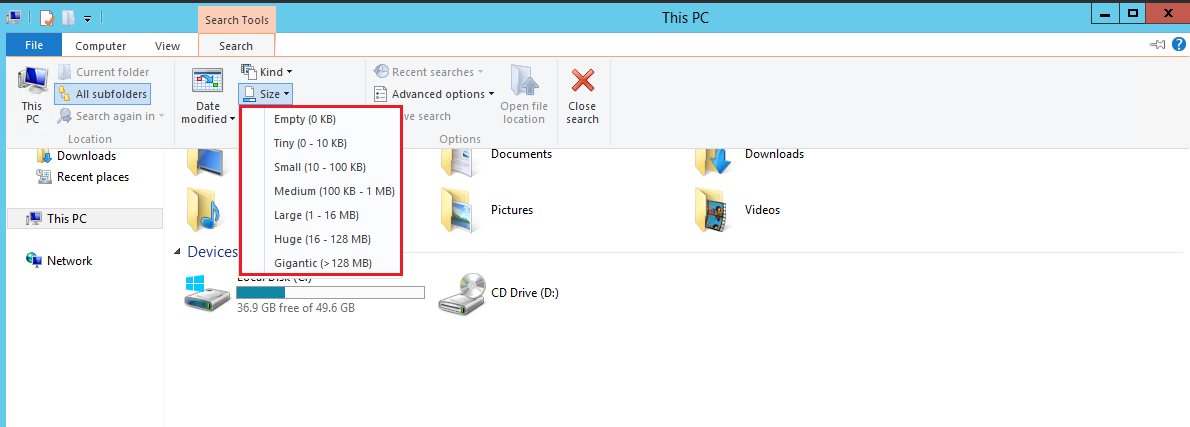
Note:
You can also enter a size in the search box in the upper-right corner of the
This PC
window. For example:
Enter “Size: > 500 MB” to search the disk for files larger than 500 MB.
Enter “Size: > 100 MB < 500 MB” to search the disk for files larger than 100 MB but less than 500 MB.
Deleting obsolete files
1. On the desktop, click 
2. Click Add Roles and Features under Manage.
3. In the pop-up window, click Next.
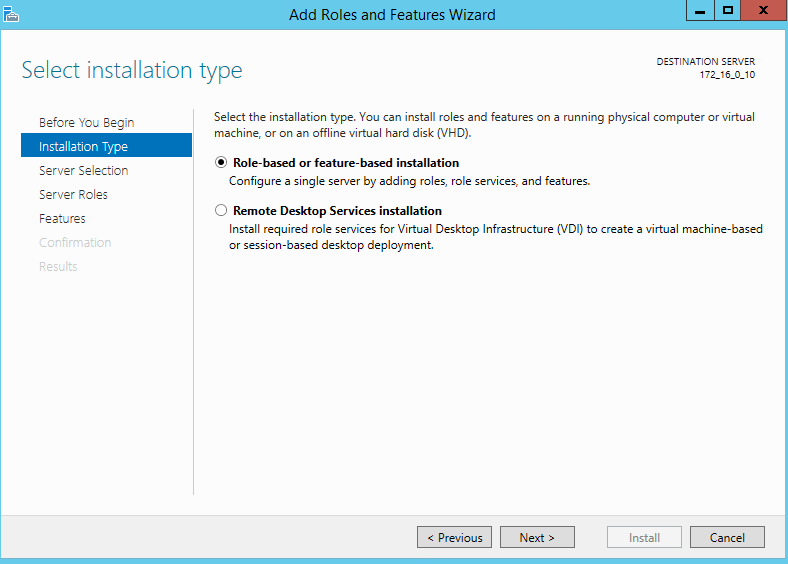
4. Select Role-based or feature-based installation and click Next twice, as shown below:
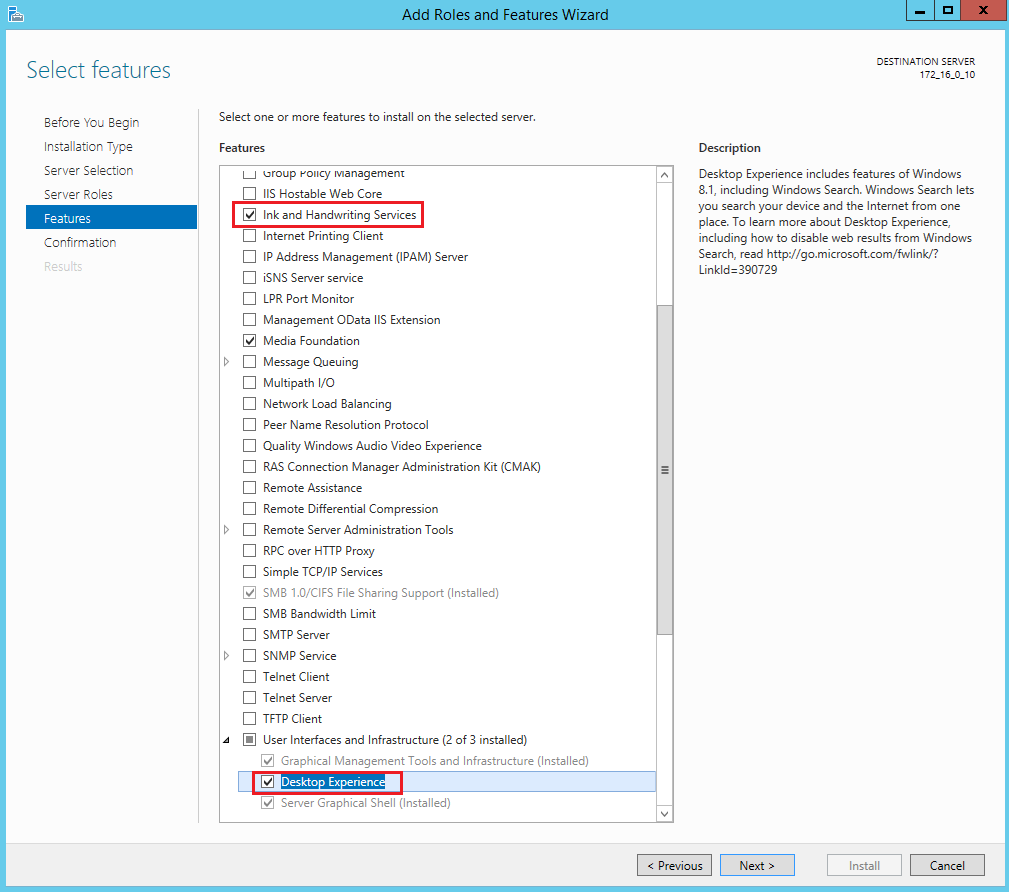
5. On the Select features page, check Ink and Handwriting Services and Desktop Experience, as shown below. Click OK in the pop-up dialog box.
6. Click Next and then Install. Wait for the installation to complete, and restart CVM when prompted.
7. Select 

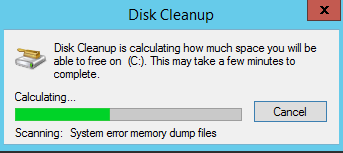
8. In the pop-up Disk Cleanup window, select the target disk and start the cleanup, as shown below:
Routine disk maintenance
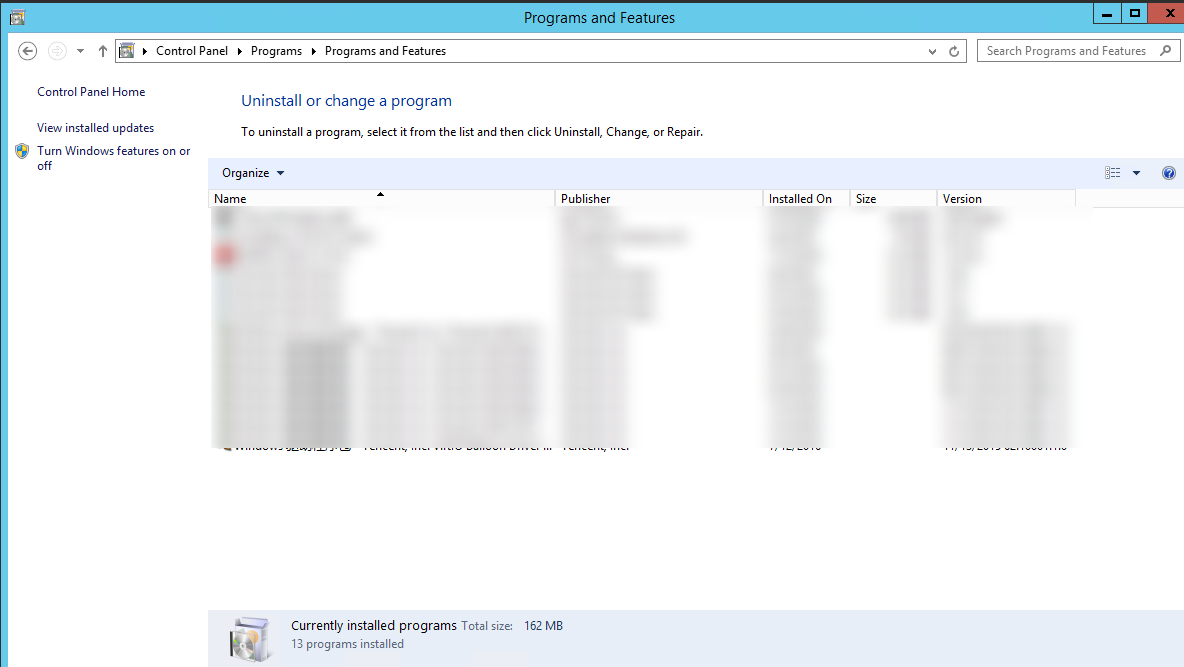
Removing programs regularly
Select Control Panel -> Programs and Features -> Uninstall or change a program to regularly remove obsolete programs, as shown below:
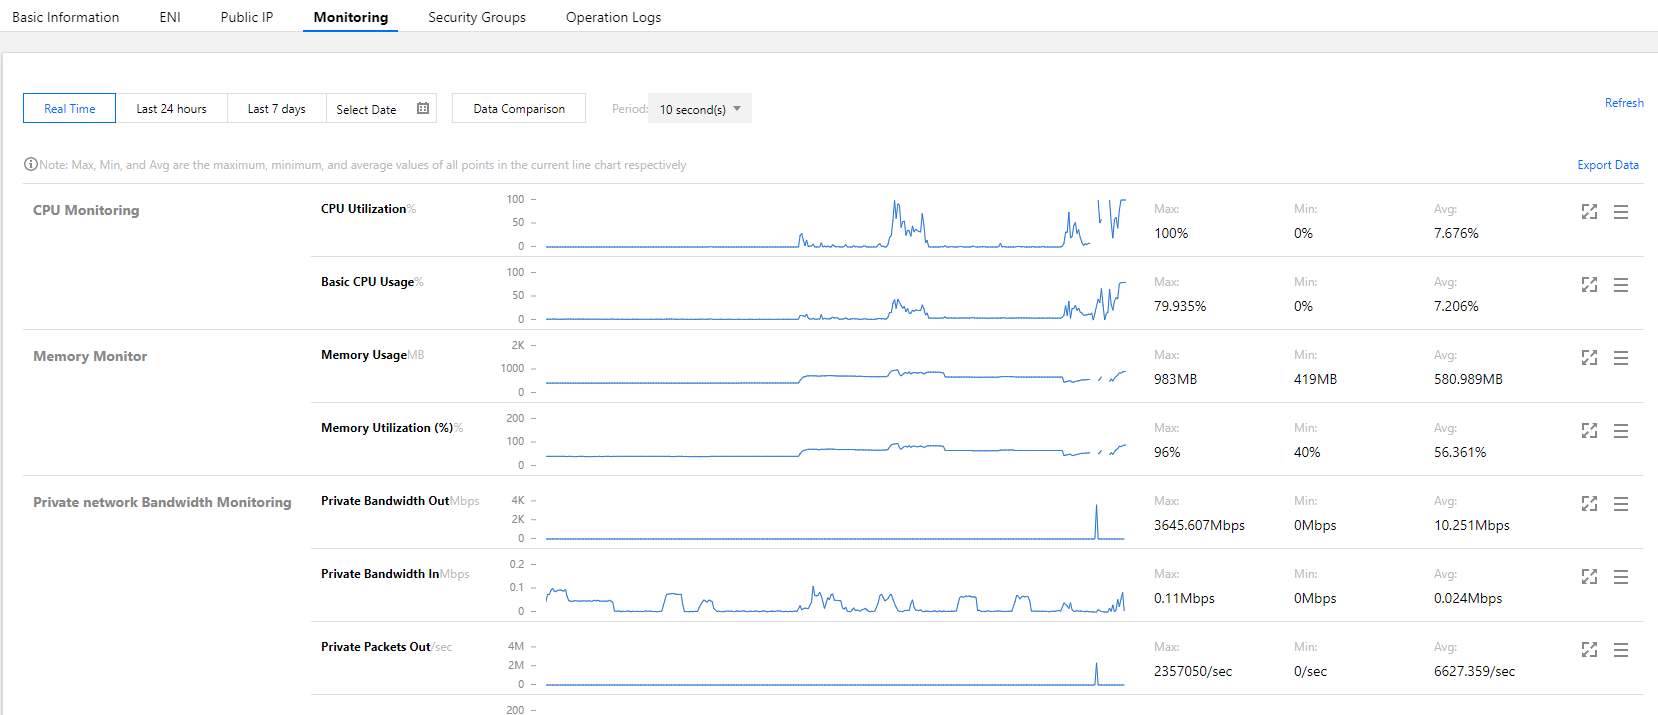
Viewing disk usage on the console
The Cloud Monitor feature is automatically enabled once a CVM instance is created. You can view the disk usage by following the steps below:
1. Log in to the CVM console and access the Instances page.
2. Select the ID/Name of the target instance to access the details page.
3. Select the Monitoring tab to view the instance disk usage, as shown below:

 Yes
Yes
 No
No
Was this page helpful?