COSBrowser is a visual interface tool launched by Tencent Cloud Object Storage (COS). It features a simpler page interaction, more convenient operations, and supports both desktop and mobile platforms. With this tool, you can easily view, transfer, and manage your COS resources. For more information about COSBrowser, see Introduction to COSBrowser.
This document briefly introduces how to quickly create a bucket using the COSBrowser tool and complete operations such as object upload, download, and sharing.
2. After the download is complete, double-click the installation package to open it and follow the prompts to install.
Note:
System requirements for the Windows version of COSBrowser: Windows 7 32/64-bit or later, and Windows Server 2008 R2 64-bit or later.
To download COSBrowser for other system versions, go to the COSBrowser Introduction to download it.
Step 2: Log In to COSBrowser
The Windows version of COSBrowser supports multiple login methods, including API key login, Tencent Cloud account login, and shared link login. Here, we select the Tencent Cloud account login method.
Step 3: Create a Bucket
1. After a successful login, click Create Bucket in the upper-left corner of the tool interface.
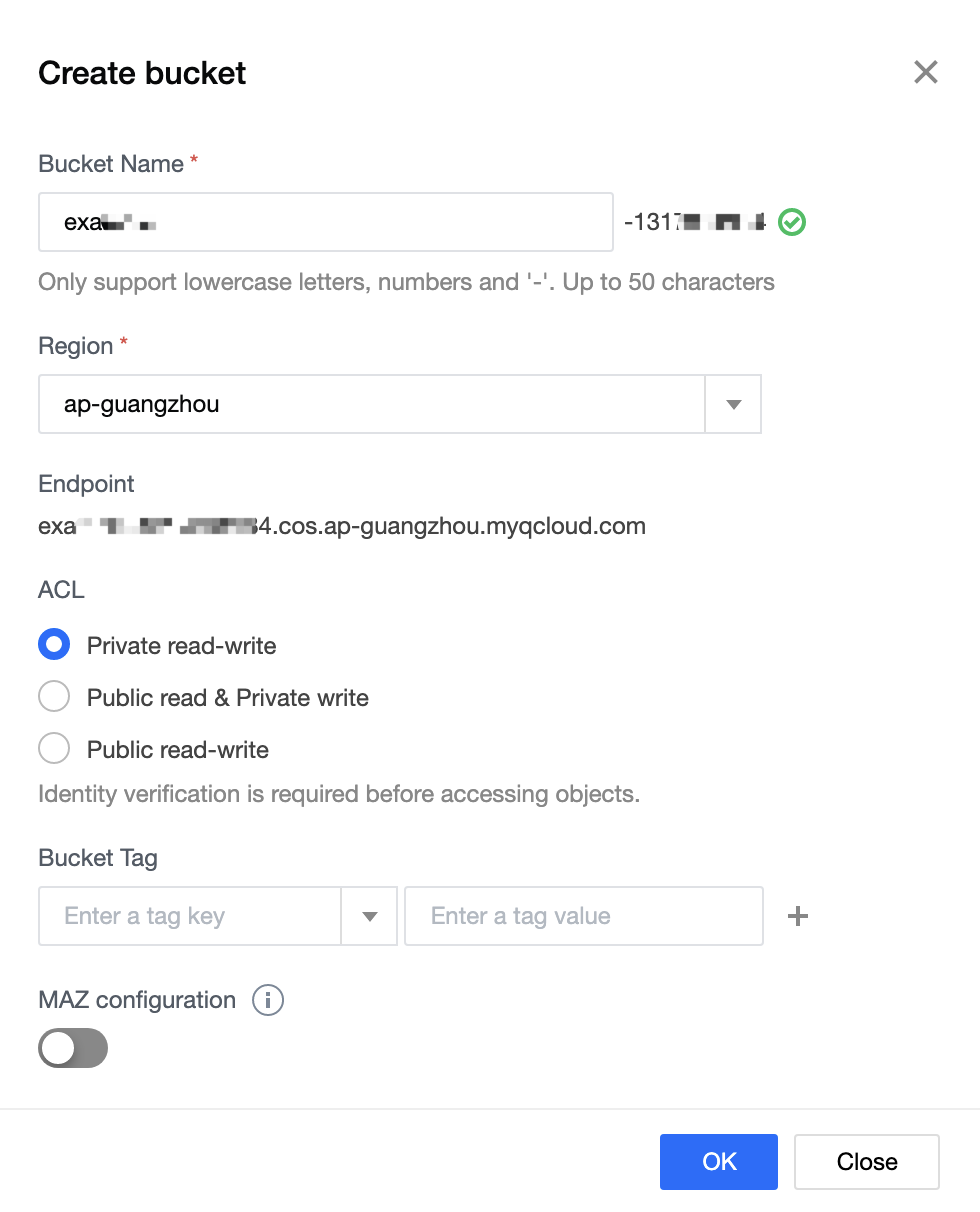
2. In the pop-up window, enter the bucket information.
Bucket name: Enter a custom bucket name. Here, we enter examplebucket.
Region: refers to the region to which a bucket belongs. Select the region closest to you. For example, if you are in Shenzhen, you can select Guangzhou, that is, ap-guangzhou.
Access permissions: refers to the access permissions of a bucket. Here, we select "Private Read/Write".
Bucket Tags/Multi-AZ features are optional and can be ignored here.
3. Click OK to complete the creation. You can then see the created bucket in the bucket list.
Step 4: Upload an Object
1. Click the bucket you just created to go to the bucket management page.
2. Choose Upload > Select File, and then select the local file you want to upload to the bucket, for example, exampleobject.txt.
3. Click Upload to upload exampleobject.txt to the bucket.
Step 5: Download an Object
Select the file you want to download, and then right-click Download.
Step 6: Share an Object
COSBrowser supports file sharing via file links or QR codes. The following uses file link sharing as an example.
1. Select the file you want to share, and then click the
button on the right to quickly generate a shareable link.
Note:
Because the file inherits the bucket's private read/write permissions, the generated shareable URL is a temporary access link with a validity period of 2 hours.
2. Send the generated shareable link to the recipient, who can then access or download the file online.
Note:
By default, if the shared file can be opened directly in a browser, accessing the temporary link will display the file online for viewing instead of downloading it.
More Features
In addition to the features mentioned above, COSBrowser offers other richer features, such as modifying bucket access permissions and file preview. For details, see the Desktop Feature List document.